

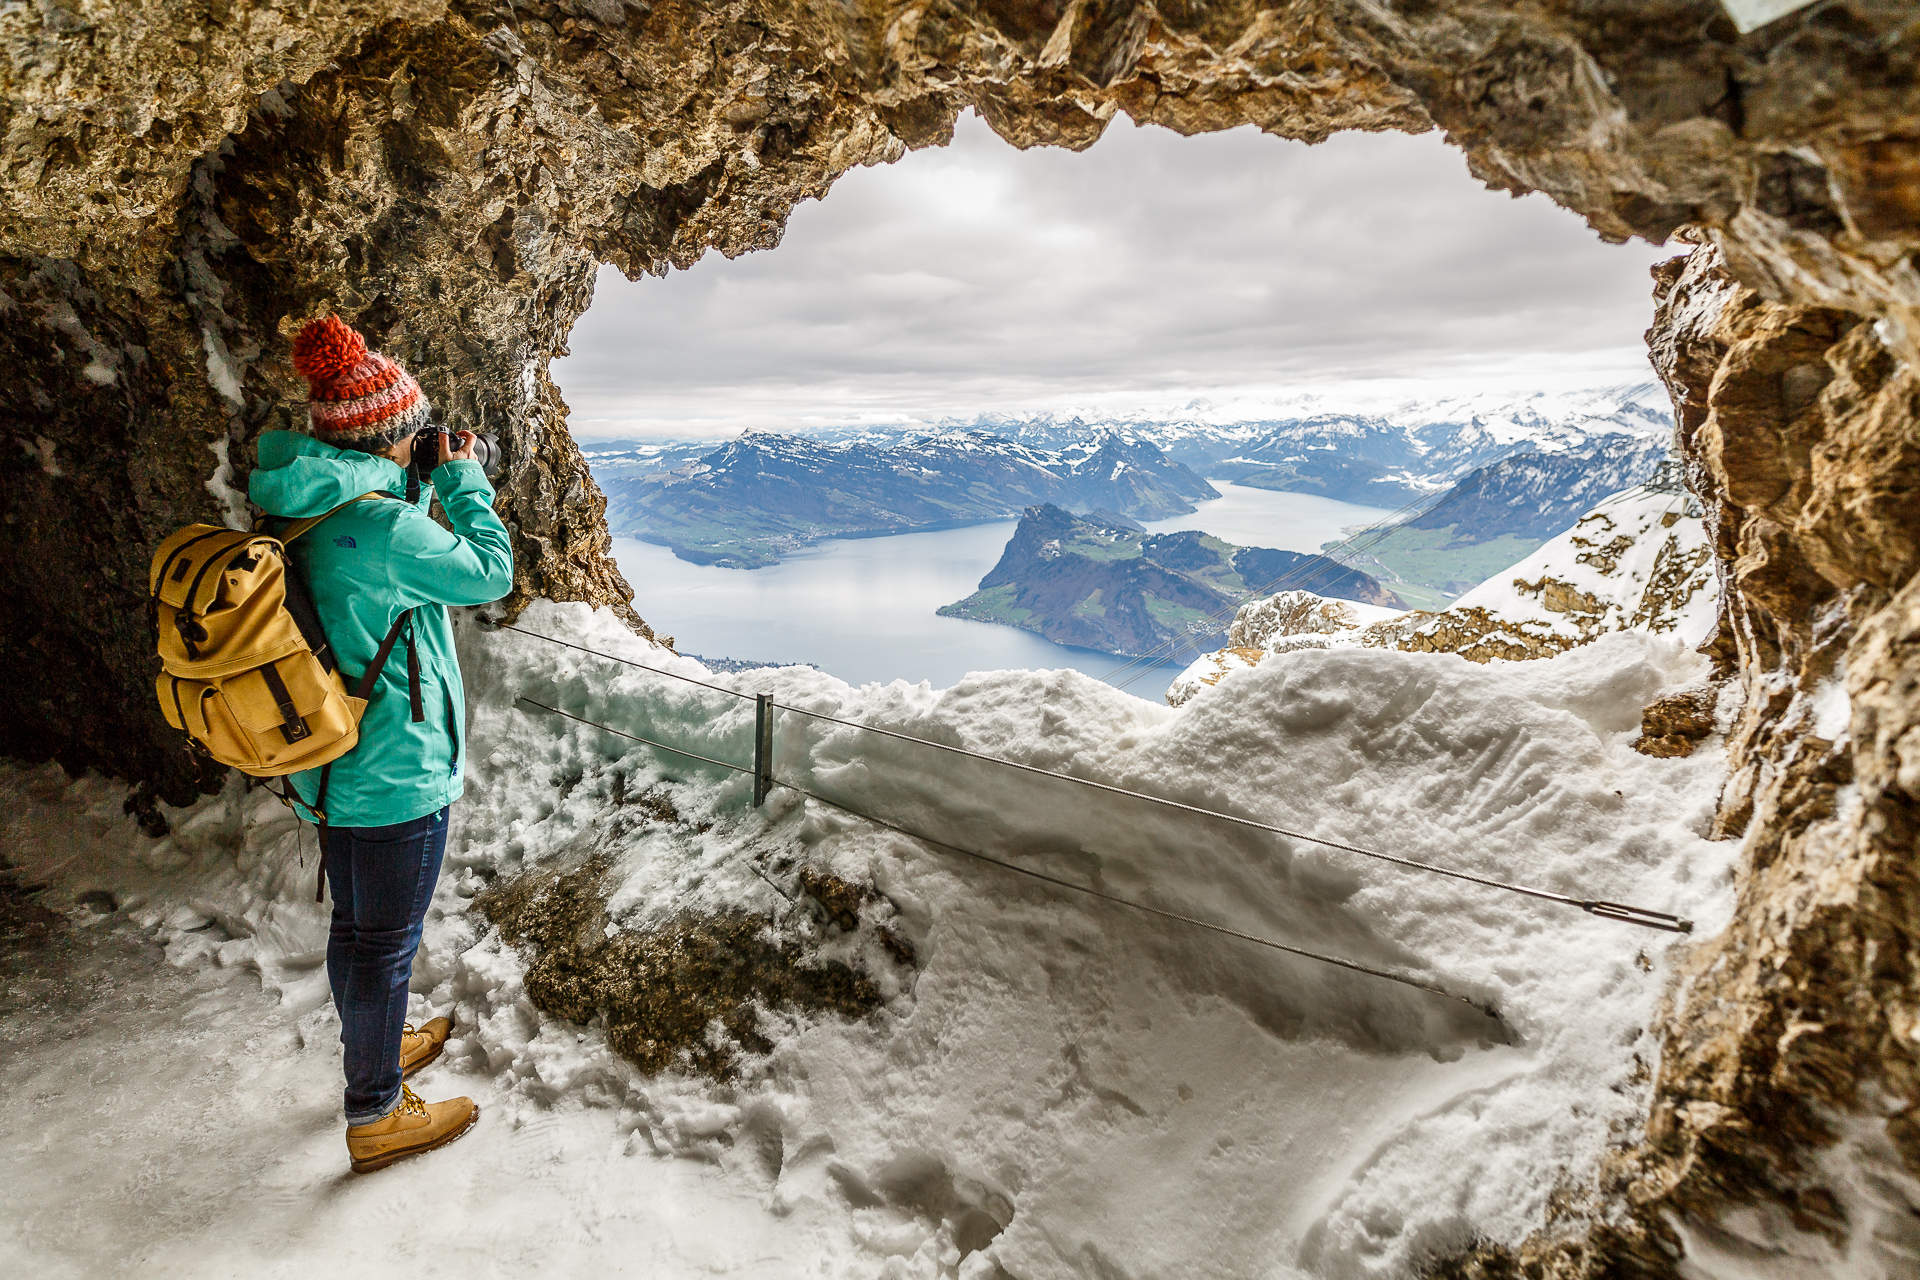
My photo equipment for outdoor photography while hiking
The time has come – the first photo tips post is here. At the request of you, dear readers, I have spread out and photographed all our photo equipment at home. Many of you not only wanted to know what we were traveling with, but were also interested in our camera backpacks and bags. In this first part of my photo tips series, the focus is on the equipment we take with us on our hikes and mountain tours.
Our photo equipment – an overview:
Which camera I use is the most frequently asked question on the blog. And before I list all our equipment, one thing in advance: With this post, I may leave the impression that you need a super expensive camera to take great pictures. This is not the case. On my Instagram profile, for example, I mostly share mobile phone pictures (Samsung Galaxy S6). I take the pictures with the normal built-in camera app and preferably edit them with VSCO. For online use, mobile phone pictures can keep up with the images of the “expensive” camera in good lighting conditions. The quality of the “right” camera comes into play when image quality is required that can be printed in print magazines or when lighting conditions are difficult. However, even with the most expensive camera equipment, “boring” images are created if you don’t have an eye for detail, don’t experiment with light, and don’t take the time to find exciting angles.
Our stock of photo equipment has grown over the years. We share the costs with two of us and (fortunately) have no other cost-intensive hobbies besides traveling and photography.
Exactly one year ago, we switched from Canon to Sony in terms of the main camera. I’ve been using a Sony Cyber-Shot as a backup camera for a long time. When the Sony a7rii was launched last summer, the relatively compact size in combination with the full-frame sensor as well as the high light sensitivity and resolution were decisive for us to buy it. The only negative point at that time was the still limited selection of suitable lenses from Sony.
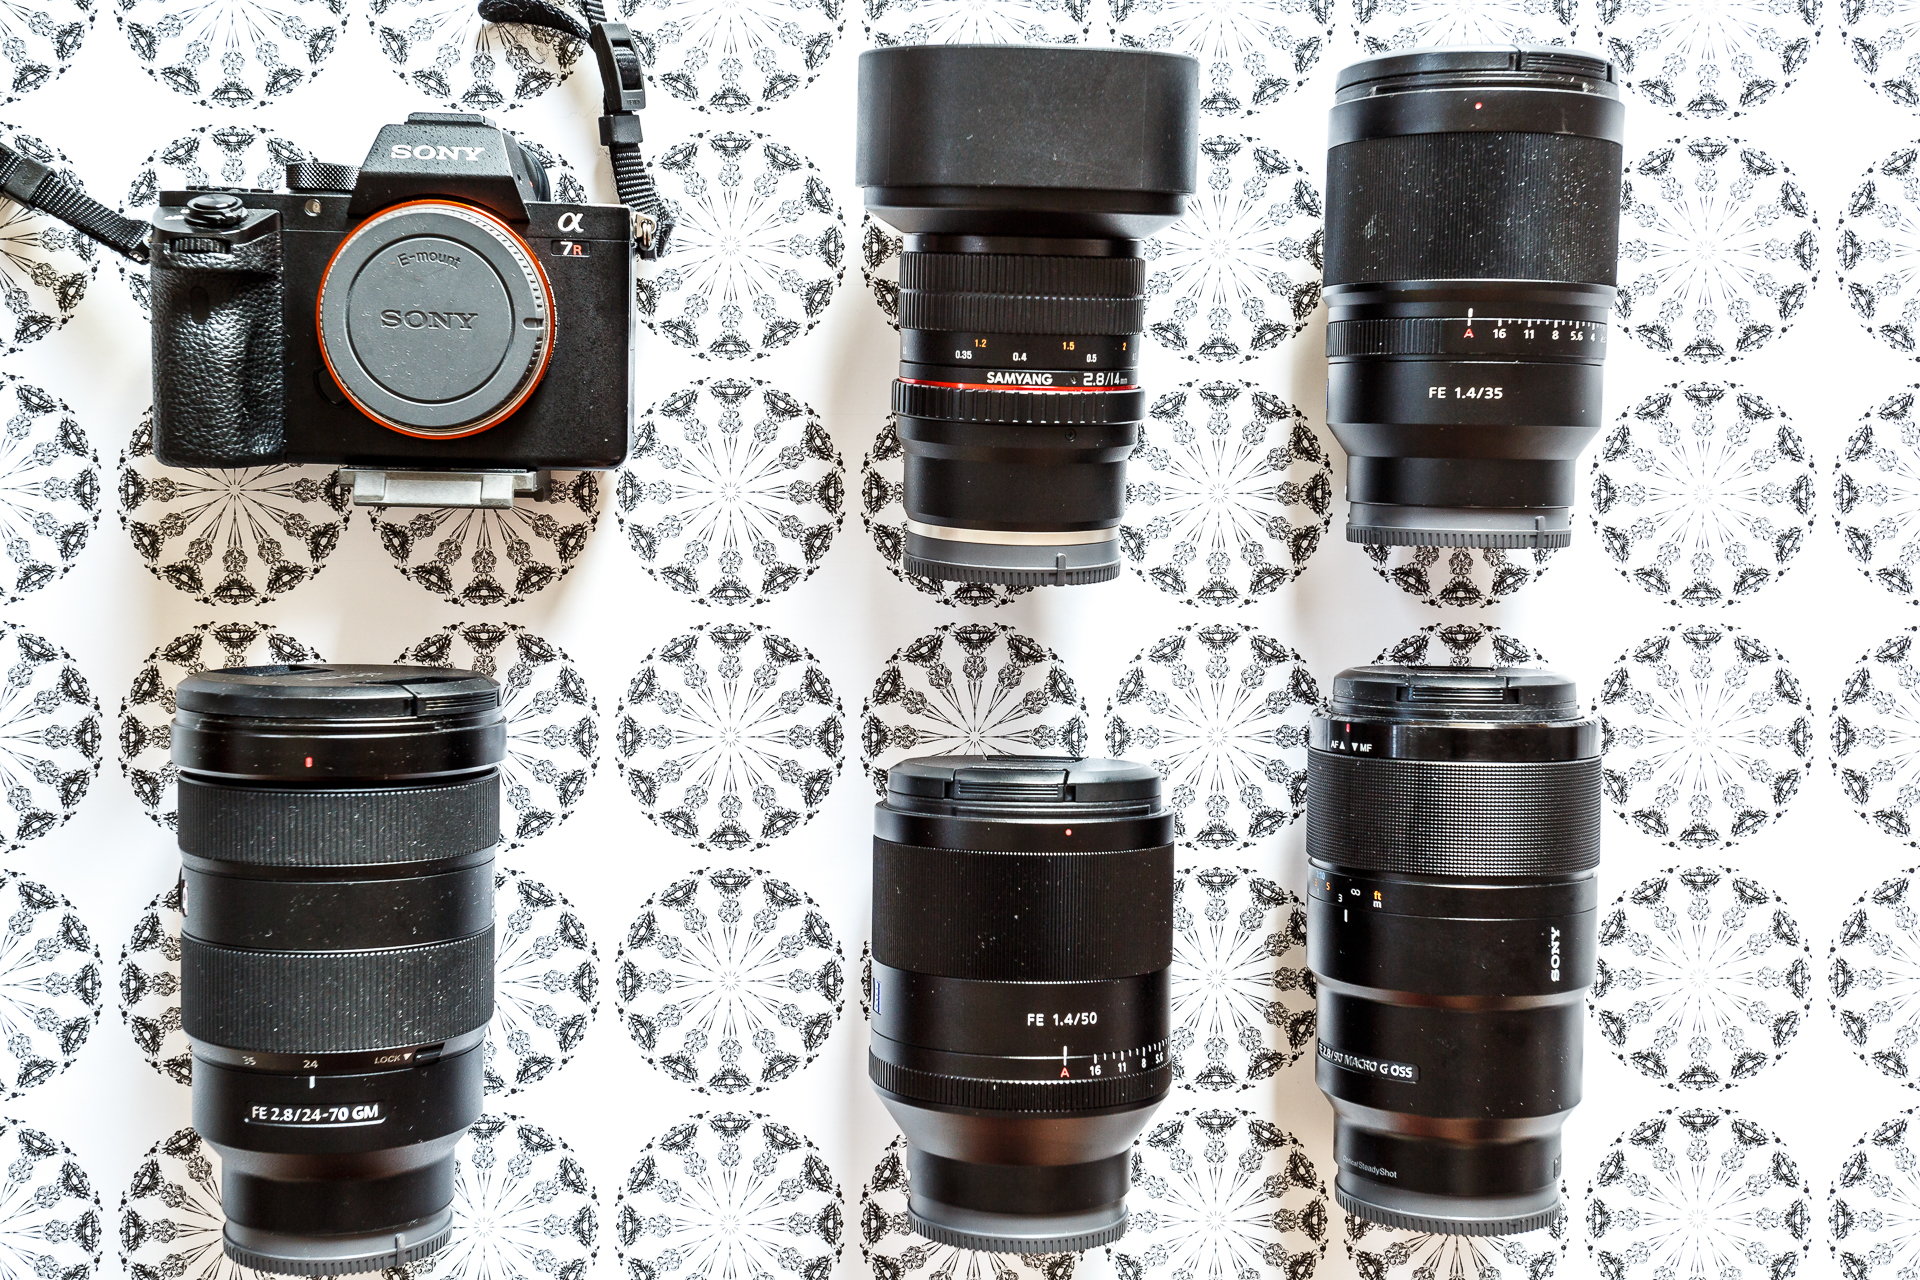
This has changed in the meantime. Two weeks ago, we treated ourselves to the FE 50 mm f/1.4, our third Sony Zeiss lens. We use this mainly in the field of food photography. We started in August 2015 with the Sony a7rii and the Sony Zeiss FE 35 mm f/1.4. In winter 2015/2016 we added a 90 mm f/2.8 macro lens and the Samyang 14 mm F2.8 to the lens set.
Current set:
- Sony A7rII
- Samyang 14mm f/2.8
- Sony Zeiss FE 35 mm f/1.4
- Sony Zeiss FE 50 mm f/1.4
- Sony Zeiss 90mm f/2.8 Macro
Recently, we also had the opportunity to test the 85 mm f/1.4 and almost became weak. If you focus on portraits, you’ll love this lens.
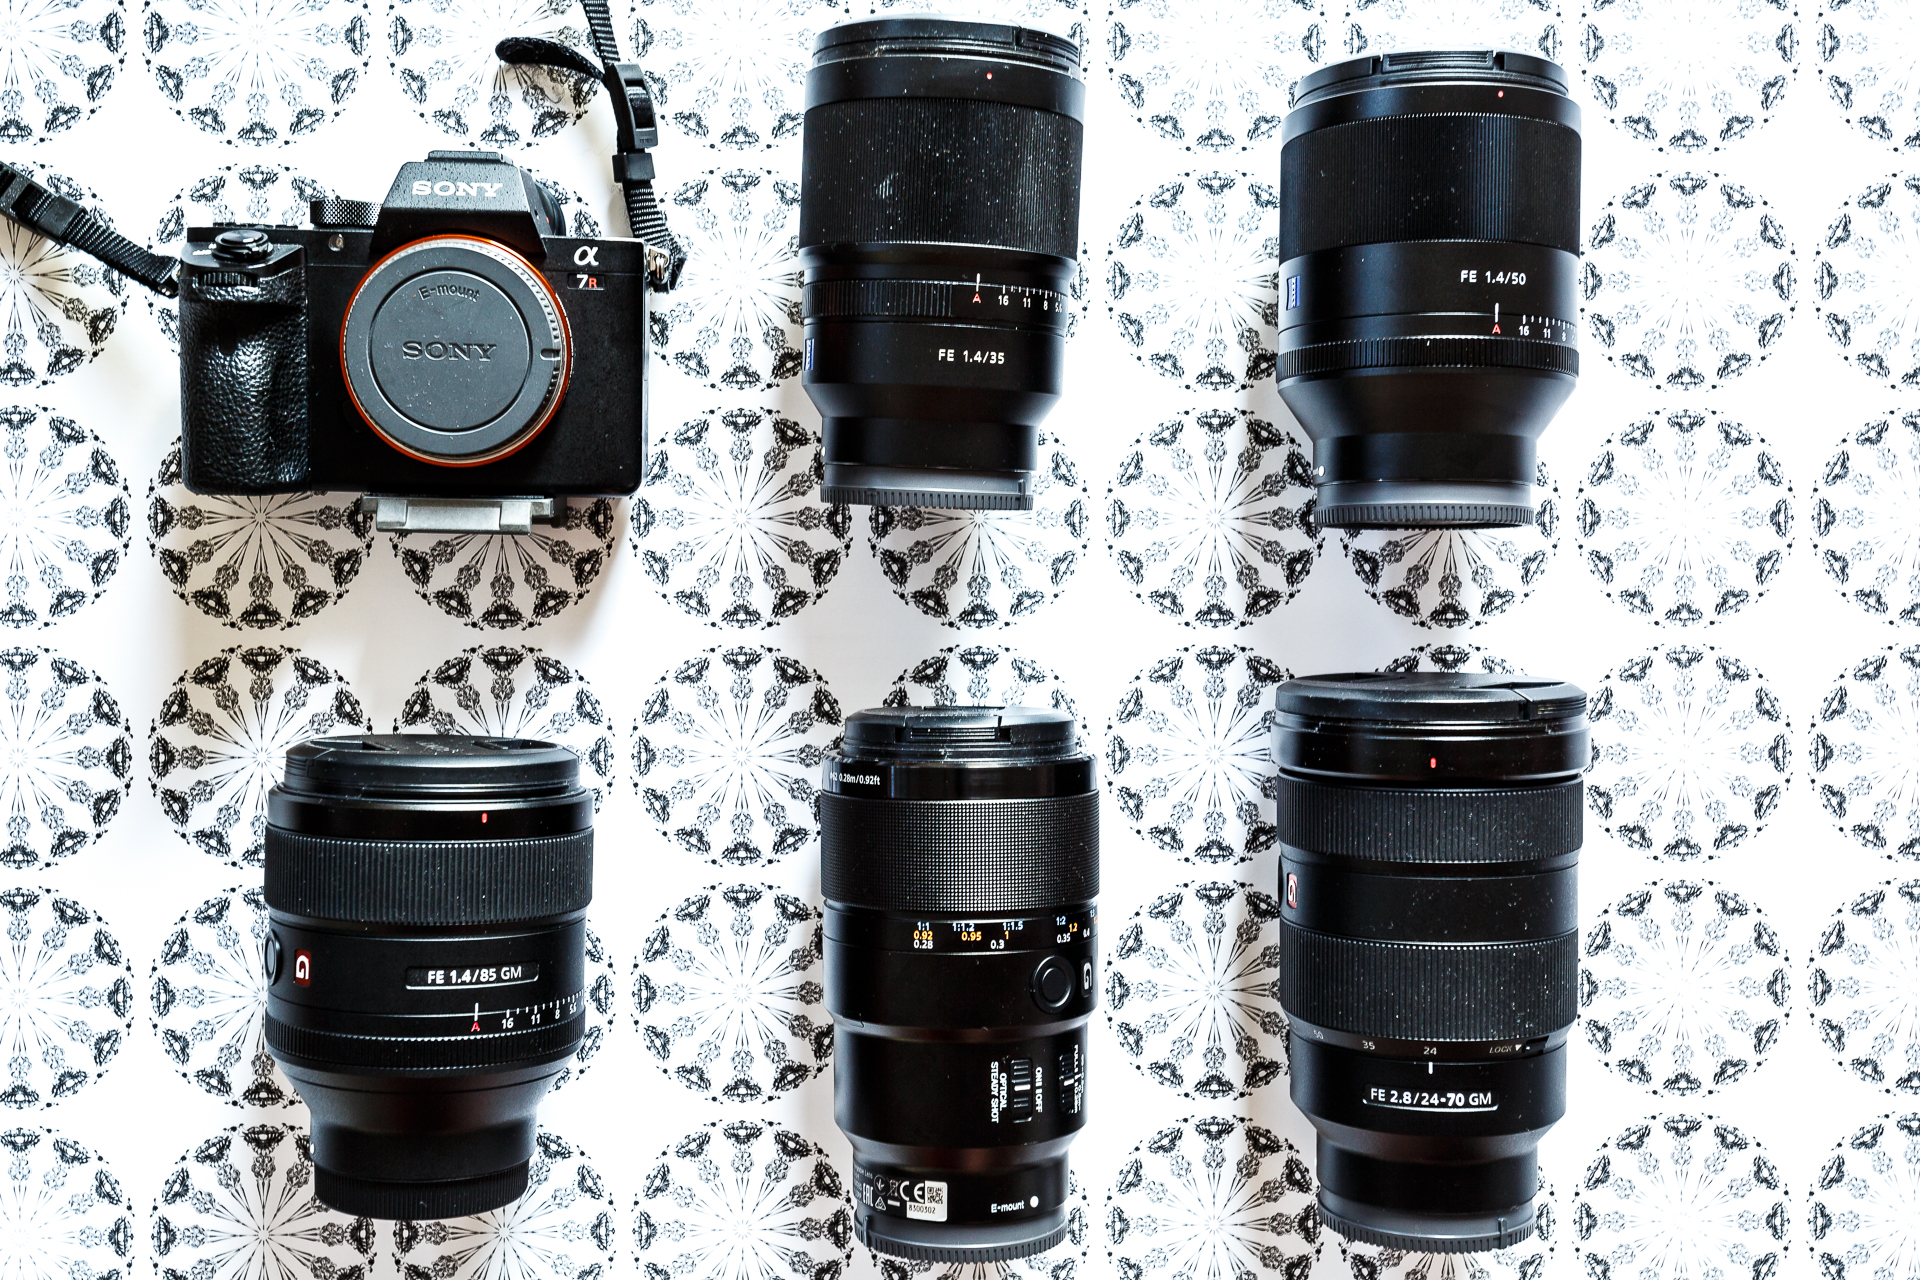
Sony A7rii with Sony FE 35mm f/1.4; Sony FE 50mm f/1.4 ZA; Sony 90mm f/2.8 Macro
Blog post with pictures of the Sony setup: Berchtesgaden National Park
Our Canon setup with the Canon 5d mkIII is a bit older. There is currently a discussion about whether we should sell this set in favor of a second Sony. In my opinion, the Canon has an advantage over the Sony, and that is in terms of focus speed. That’s why we haven’t been able to let go yet. We can’t underline the much-criticized disadvantage that the battery life of the Sony is shorter. We each have two spare batteries with us and that was sufficient for longer tours without access to electricity (e.g. hut tour Berchtesgaden).
We mainly use the EF 24-105mm f/4 and EF 17-40mm f/4 zoom lenses, as well as the EF 50mm f/1.8 and EF 100mm f/2.8 prime lenses. The EF 50mm is definitely worth buying, as it offers great value for money.
Current set:
- Canon 5d mkIII
- EF 17-40 mm f/4
- Sigma art 20 mm f/1.4
- EF 24-105 mm f/4
- EF 50 mm f/1.8
- EF 70-300 mm F/4-5.6 IS USM
- EF 100 mm f/2.8
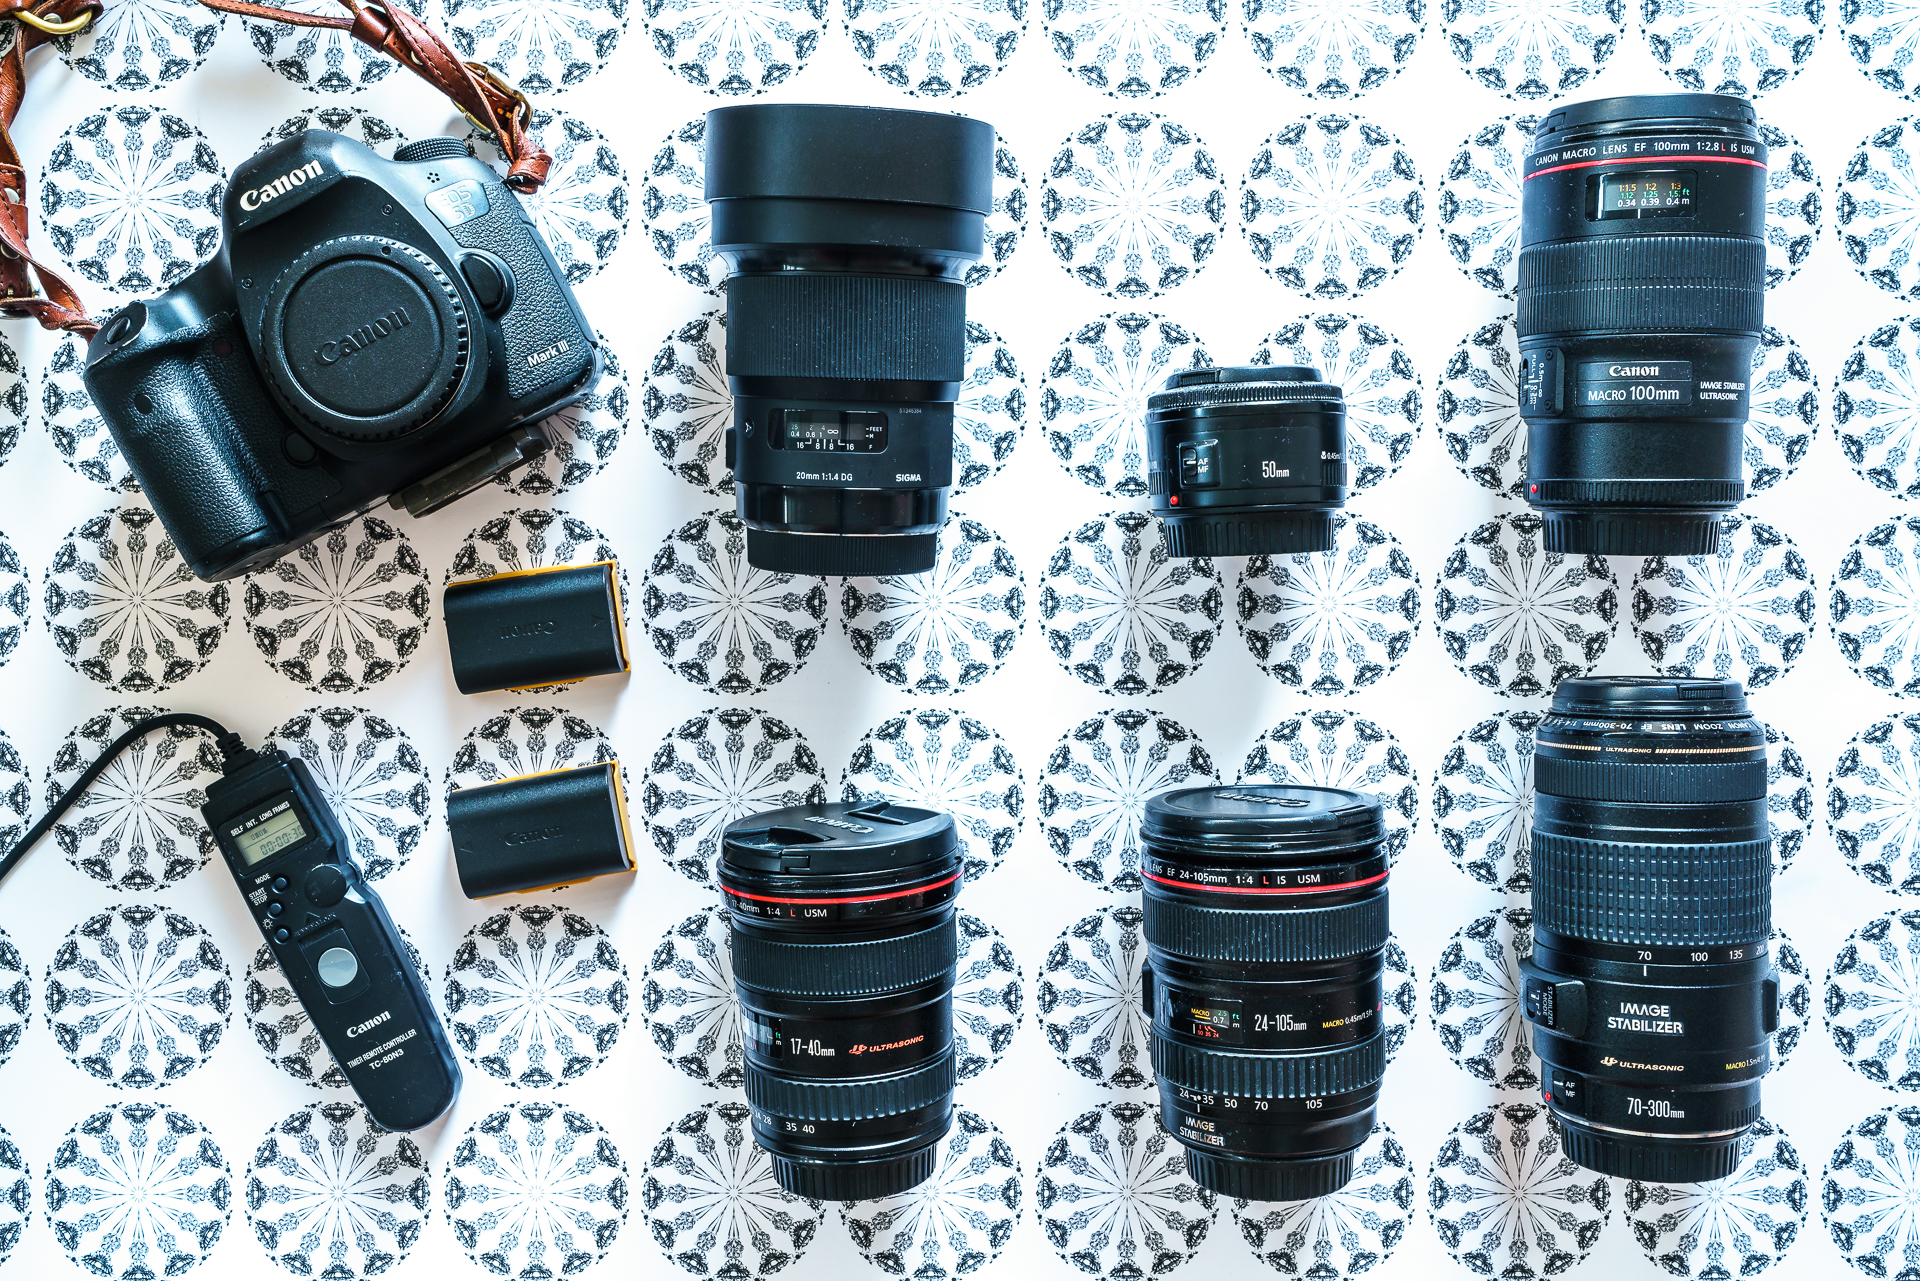
Our “old” Canon set
Blog post with pictures of the Canon setup: Toggenburg High Trail
Festbrennweite versus Zoom
When we bought the Sony a year ago, there were no good quality zoom lenses. If the FE 24-70 f/2.8 had been on the market at the time, we probably would have opted for this variant. For example, instead of three to four lenses, we would only have to take one or two lenses with us on hikes to cover the desired bandwidth. Anyone who, like us, likes to be outdoors, appreciates every kilo of luggage saved.
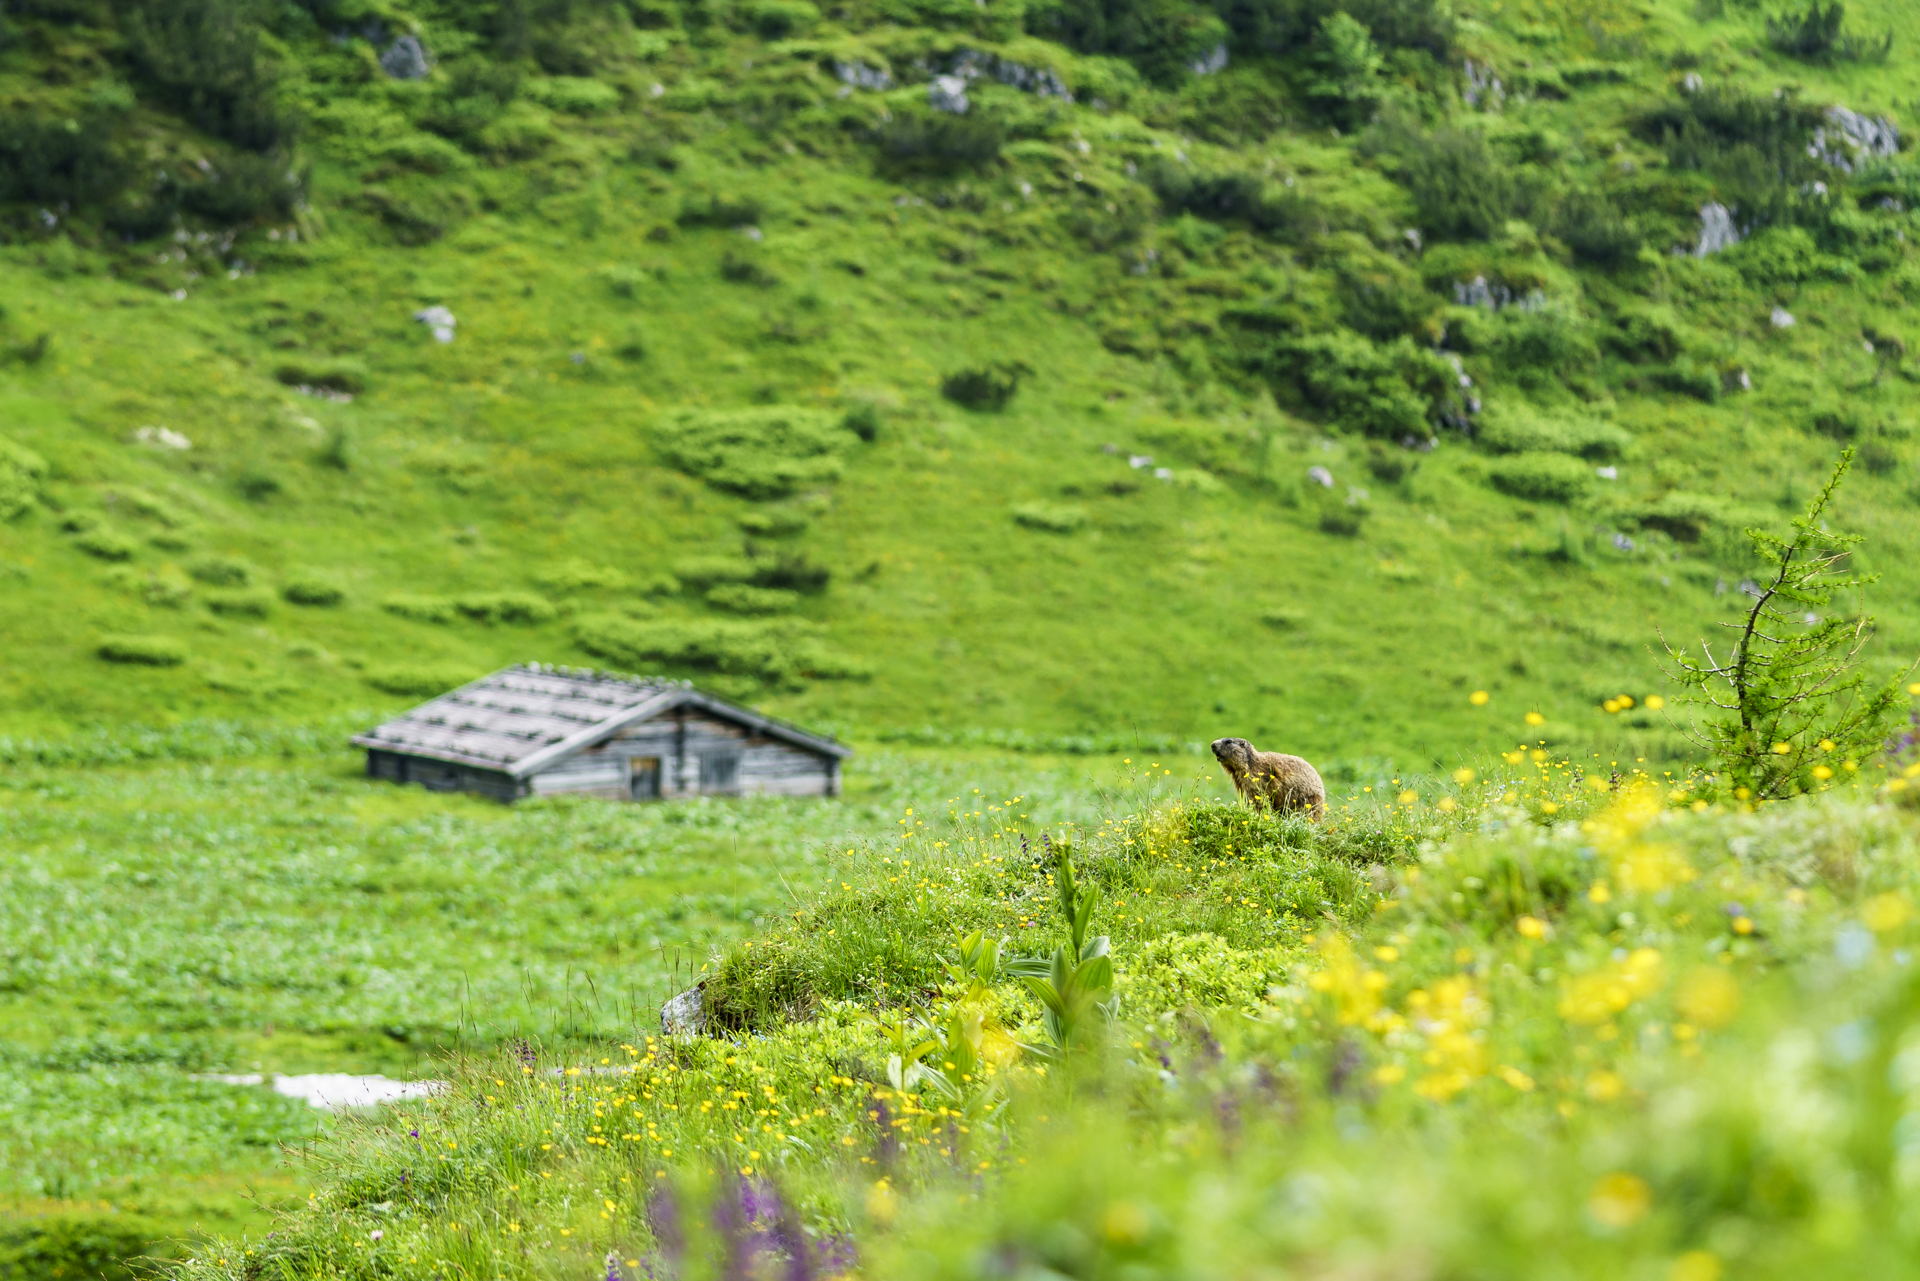
After we had the opportunity to test the FE 24-70 f/2.8 for two weeks at the beginning of August, we were happy to have used fixed focal lengths in retrospect. We weren’t completely impressed by the lens. On the one hand, the zoom needs a relatively large amount of “power” (that sounds strange, but that’s the way it is), and on the other hand, the lid construction is inadequate. And when it comes to the fine details, the FE 35mm f/1.4 is simply more captivating. So we stick to putting on the FE 35mm f/1.4 as a standard kit and changing lenses as needed (for example, to bring a marmot closer to the lens). The only downside is the associated risk of catching dust sposts.
Blog post with FE 24-70 mm f/2.8 zoom lens (all outdoor images): Bellevue Adelboden
Blog post with fixed focal length FE 35 mm f/1.4: Weissenstein
Example: Fixed focal length FE 90 mm f/2.8
Example: FE 24-70 mm f/2.8 zoom lens
Hiking in a photo backpack
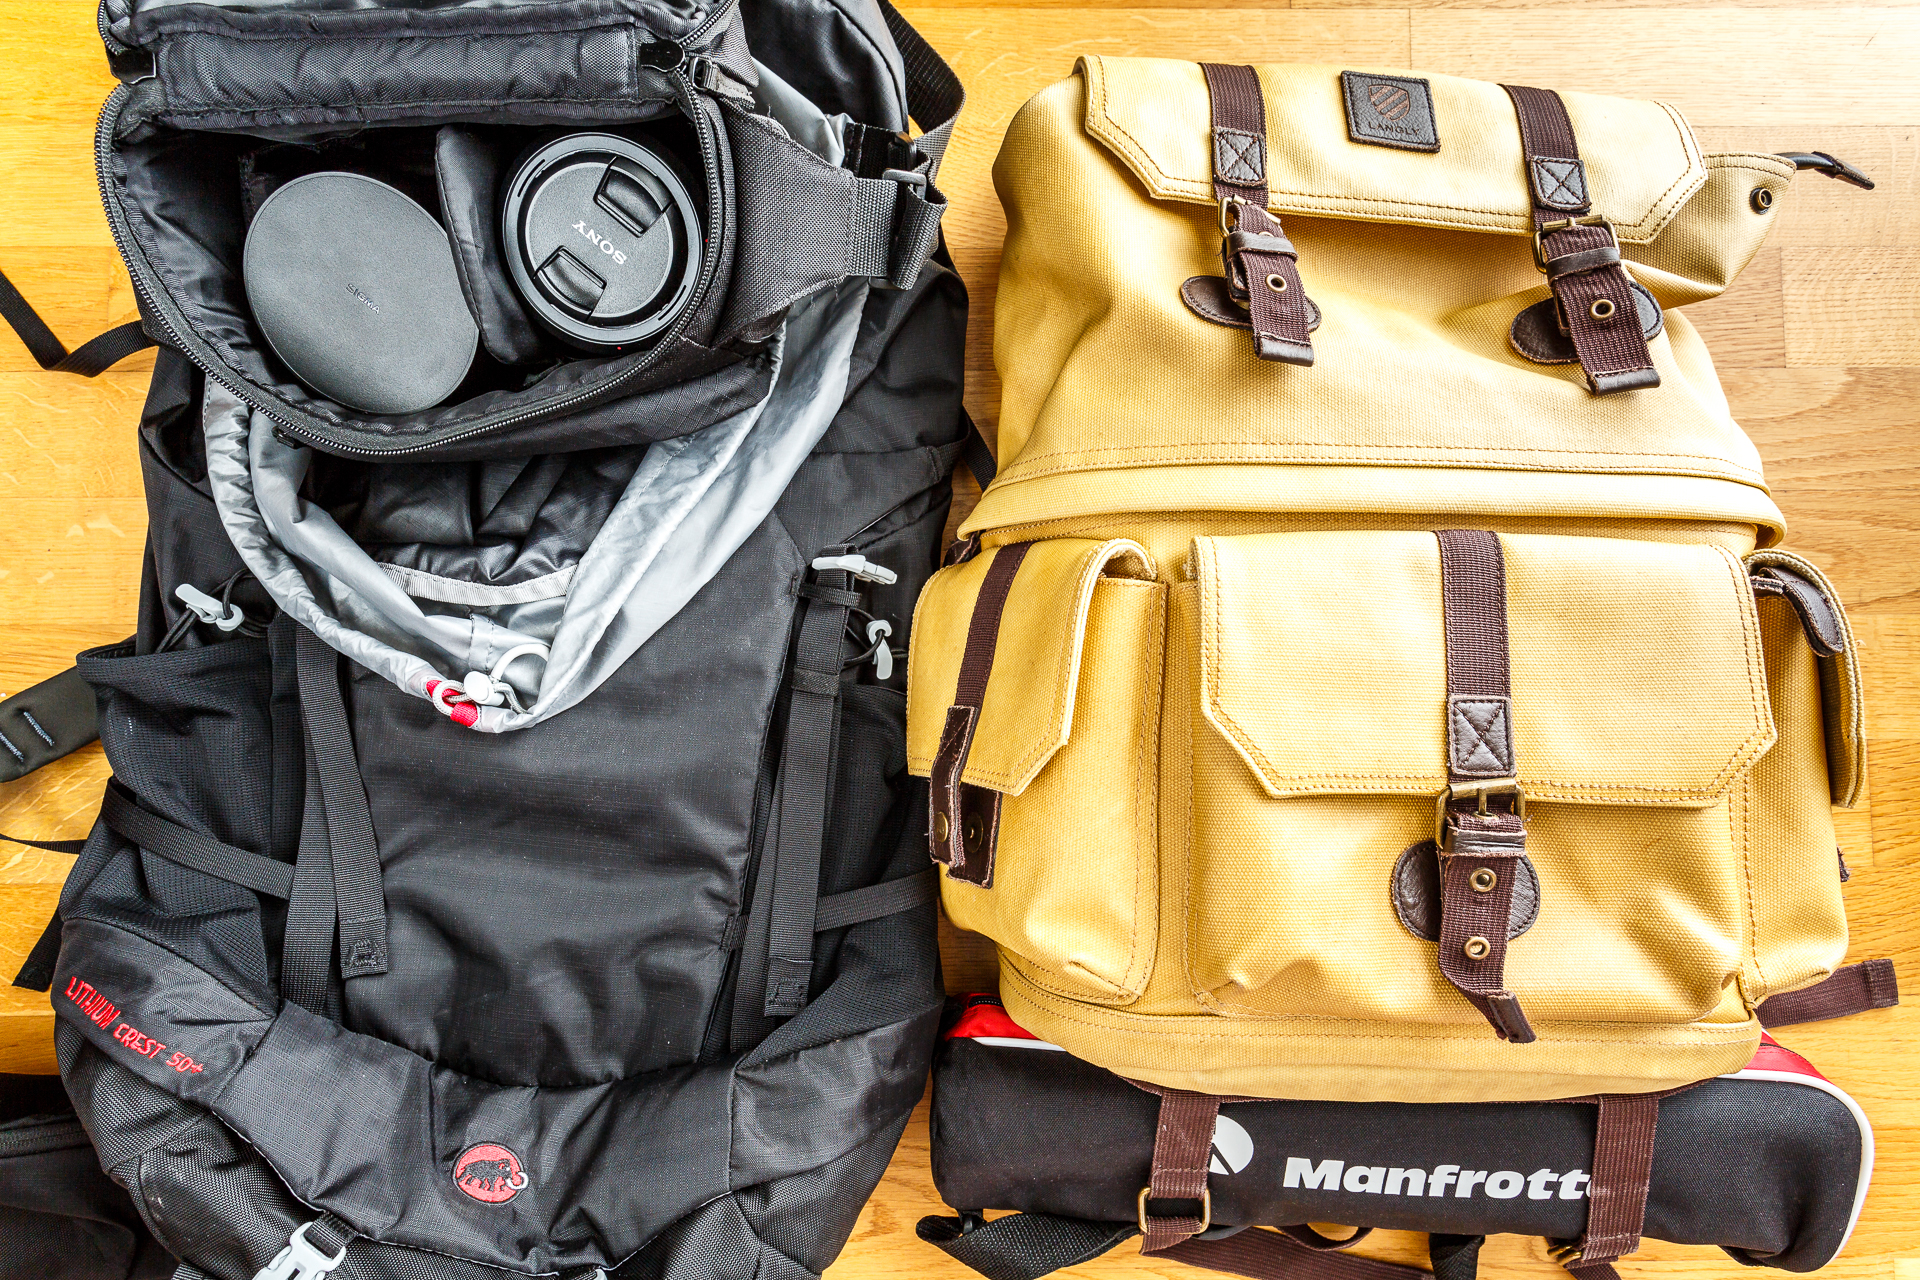
When hiking, we differentiate between which backpack and which equipment comes with you depending on the length of the tour. On day hikes, the friend usually hikes with the ONA Camera Bag. This camera backpack offers the advantage that the camera equipment is clearly packed and quickly accessible. With my Langly Camera Bag, this is less practical, but the tripod can be attached to the bottom of the backpack. However, we rarely take the tripod with us on day hikes.
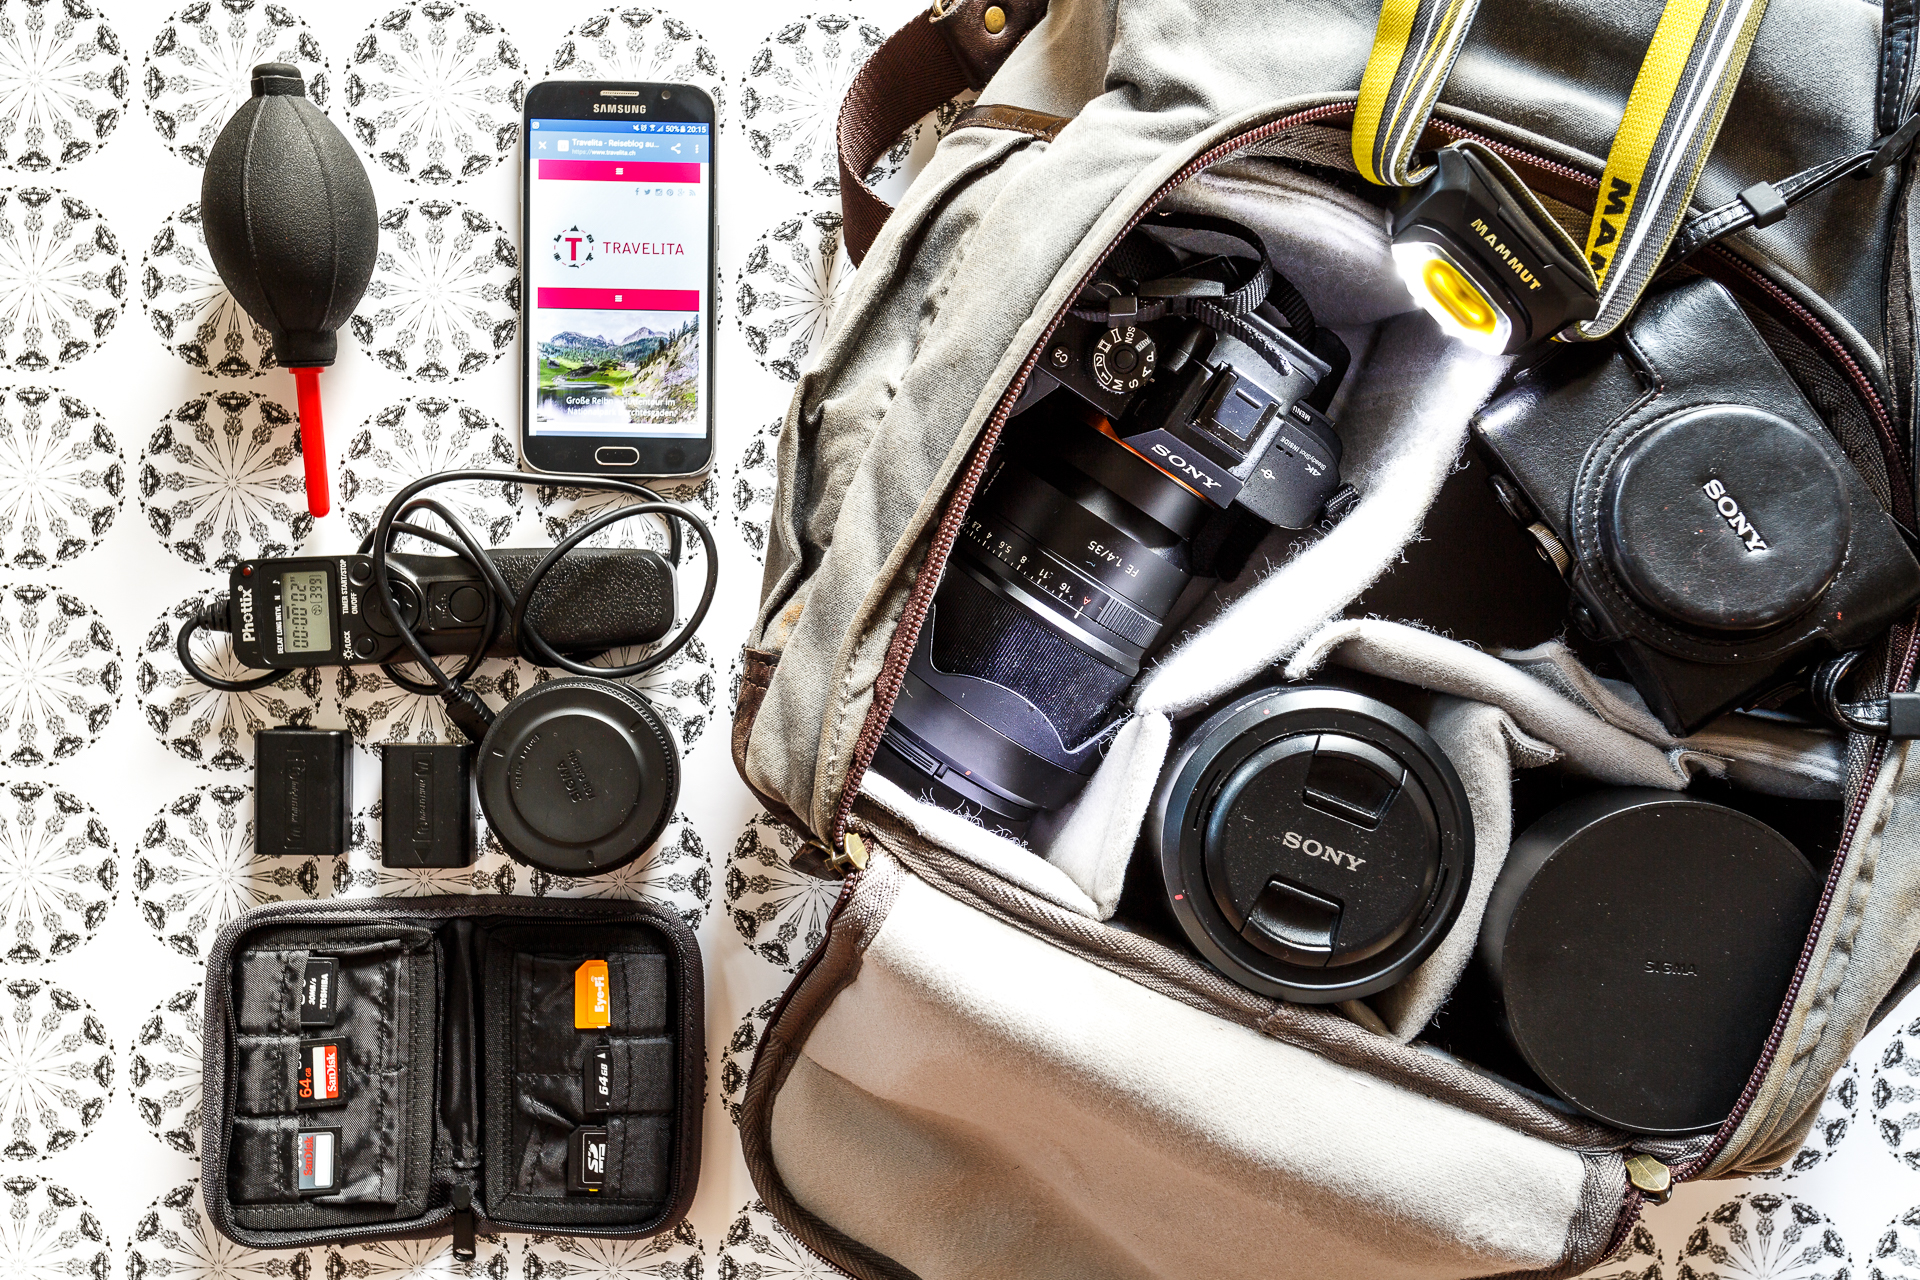
For multi-day tours, we limit ourselves to a maximum of three lenses (Sony Zeiss FE 35 mm f/1.4, Sony Zeiss FE 90 mm f/2.8 and, since we bought the MC-11 connector converter, the Sigma art 20 mm f/1.4) and pack two of them into an old camera bag, which is then stowed in the touring backpack. In addition, there are cleaning supplies, batteries, memory cards, headlamp and a tripod. As a travel tripod we use the Manfrotto Befree (carbon). The aluminium version broke down in Lapland.
Photo equipment for multi-day tours:
- Sony A7rII
- Sigma art 20 mm f/1.4
- Sony Zeiss FE 35 mm f/1.4
- Sony Zeiss 90mm f/2.8 Macro
- Manfrotto Befree (Carbon)
- Remote
- Mount Converter MC-11
- 2 to 3 batteries
- Blank Memory Cards
- Headlamp
- Sony DSC RX100 as a replacement camera
5 Photo Tips for Exciting Hiking Pictures
I am happy to receive your positive feedback on the diversity of our hiking photos. In order to be able to accompany my hiking reports with as varied pictures as possible from different angles, I pay particular attention to the following five points:
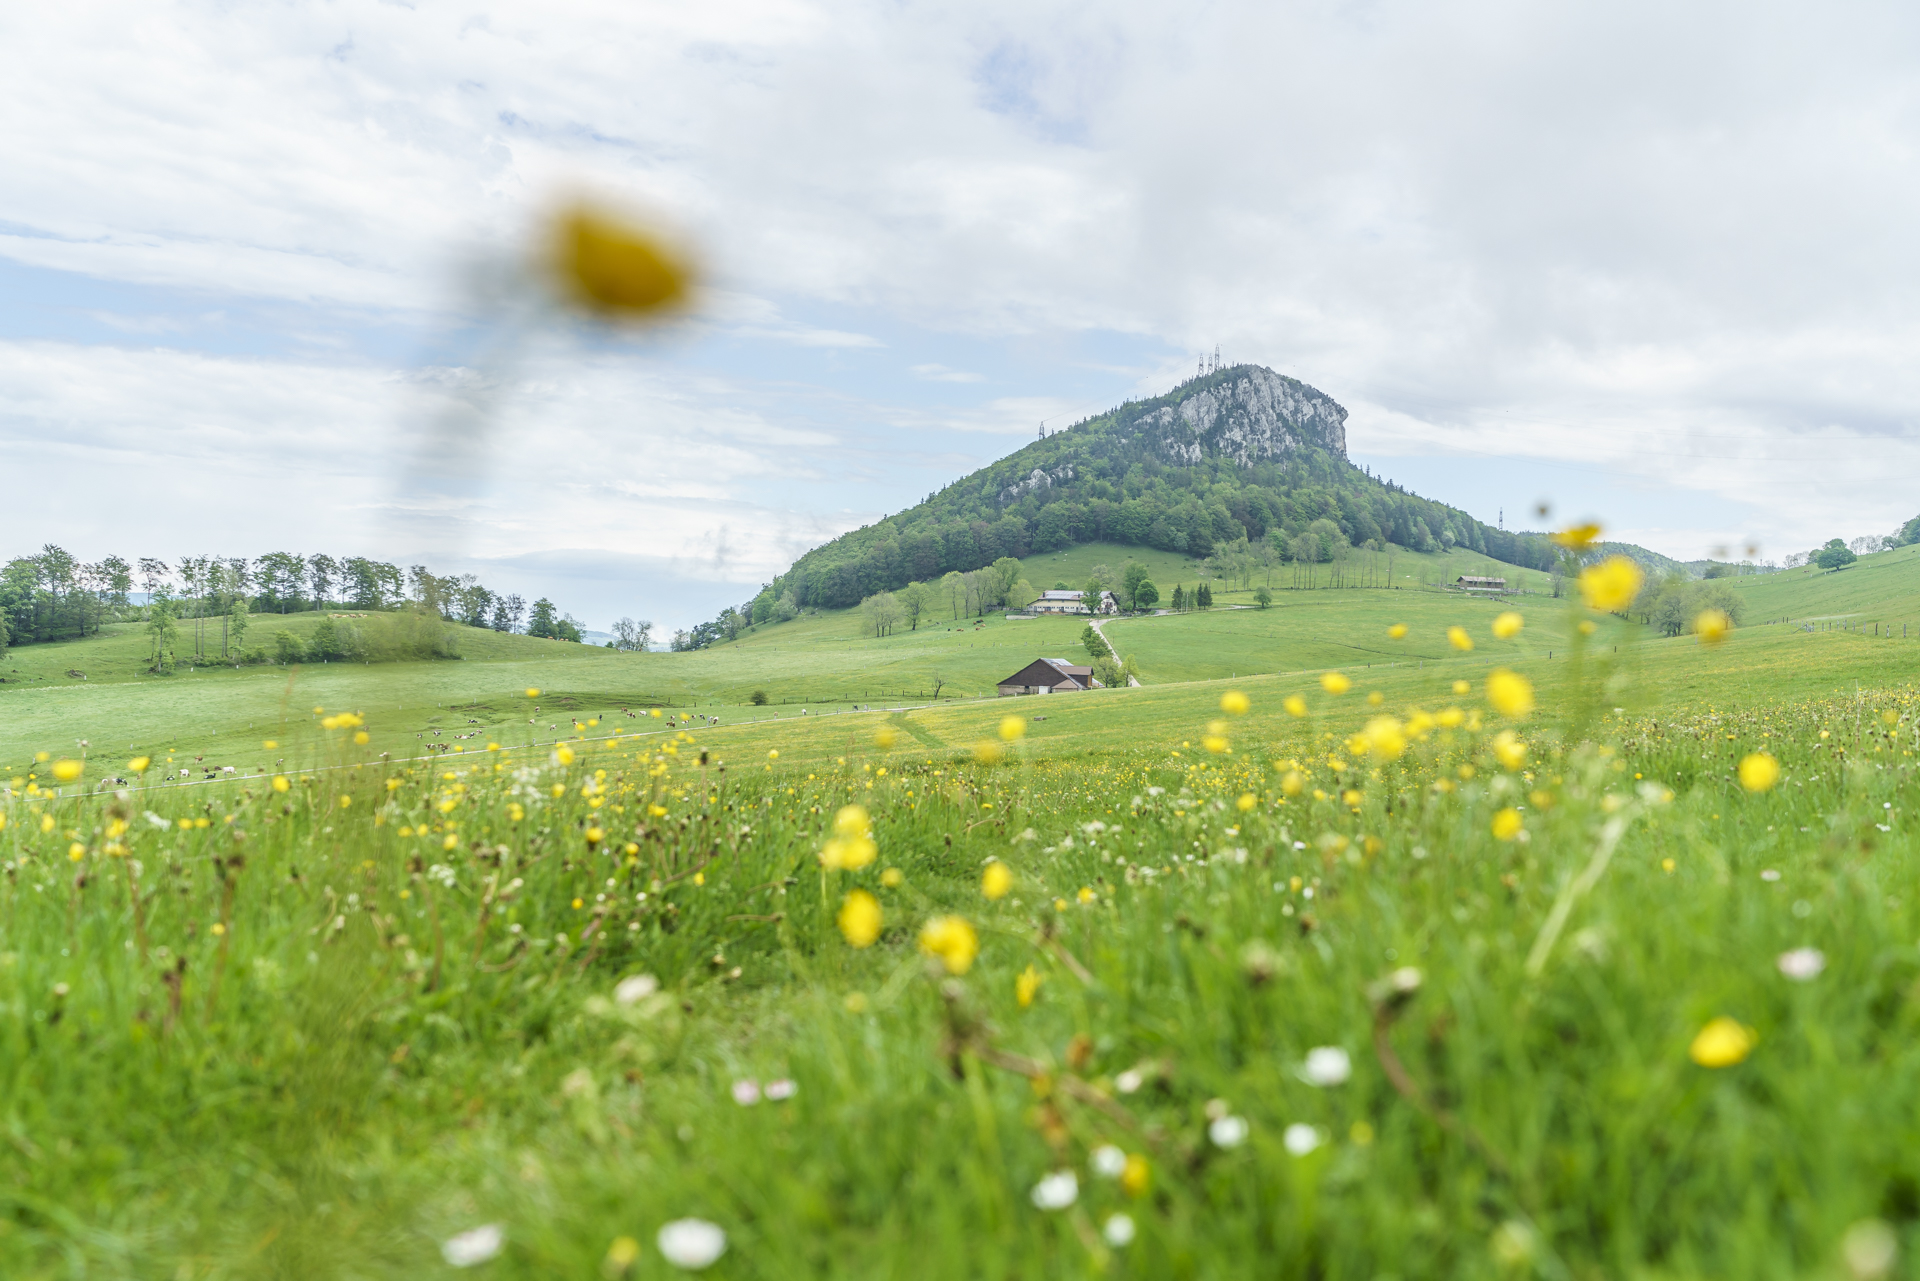
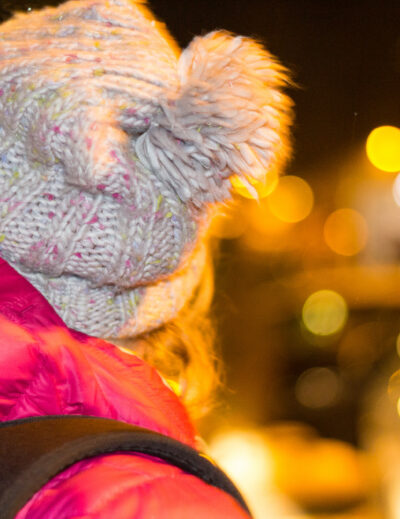
#1 Play with blur effects:
Lenses with low f-numbers (F-values) can be used to achieve wonderful blurring effects and thus exciting image effects. Why not just focus on the foreground and let the background “shine” or vice versa?
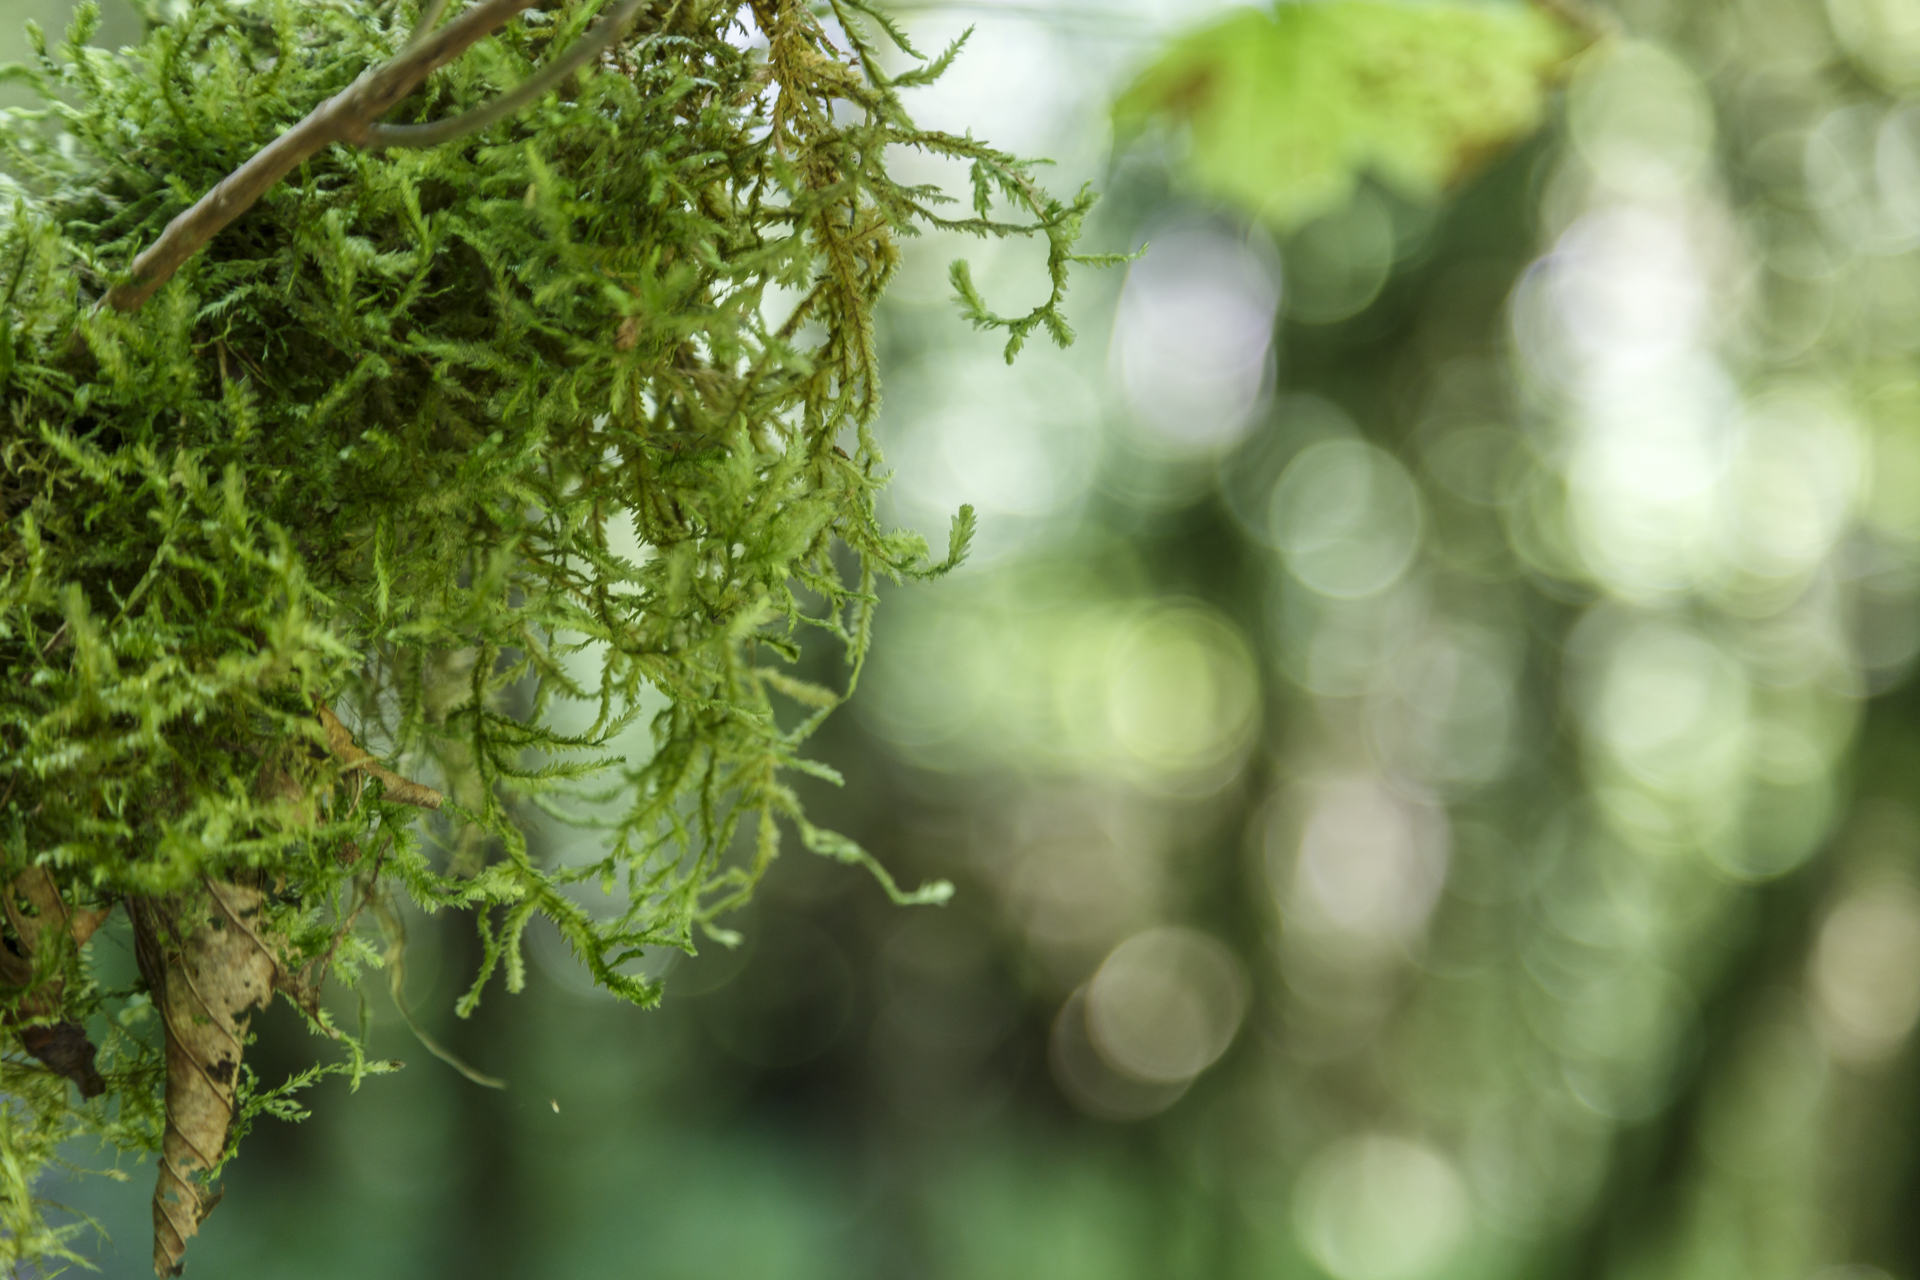
#2 Pay attention to details:
In addition to great panoramas, I like to capture the small details with the camera and bring you closer to the diversity of the hiking experience with these spontaneous impressions.
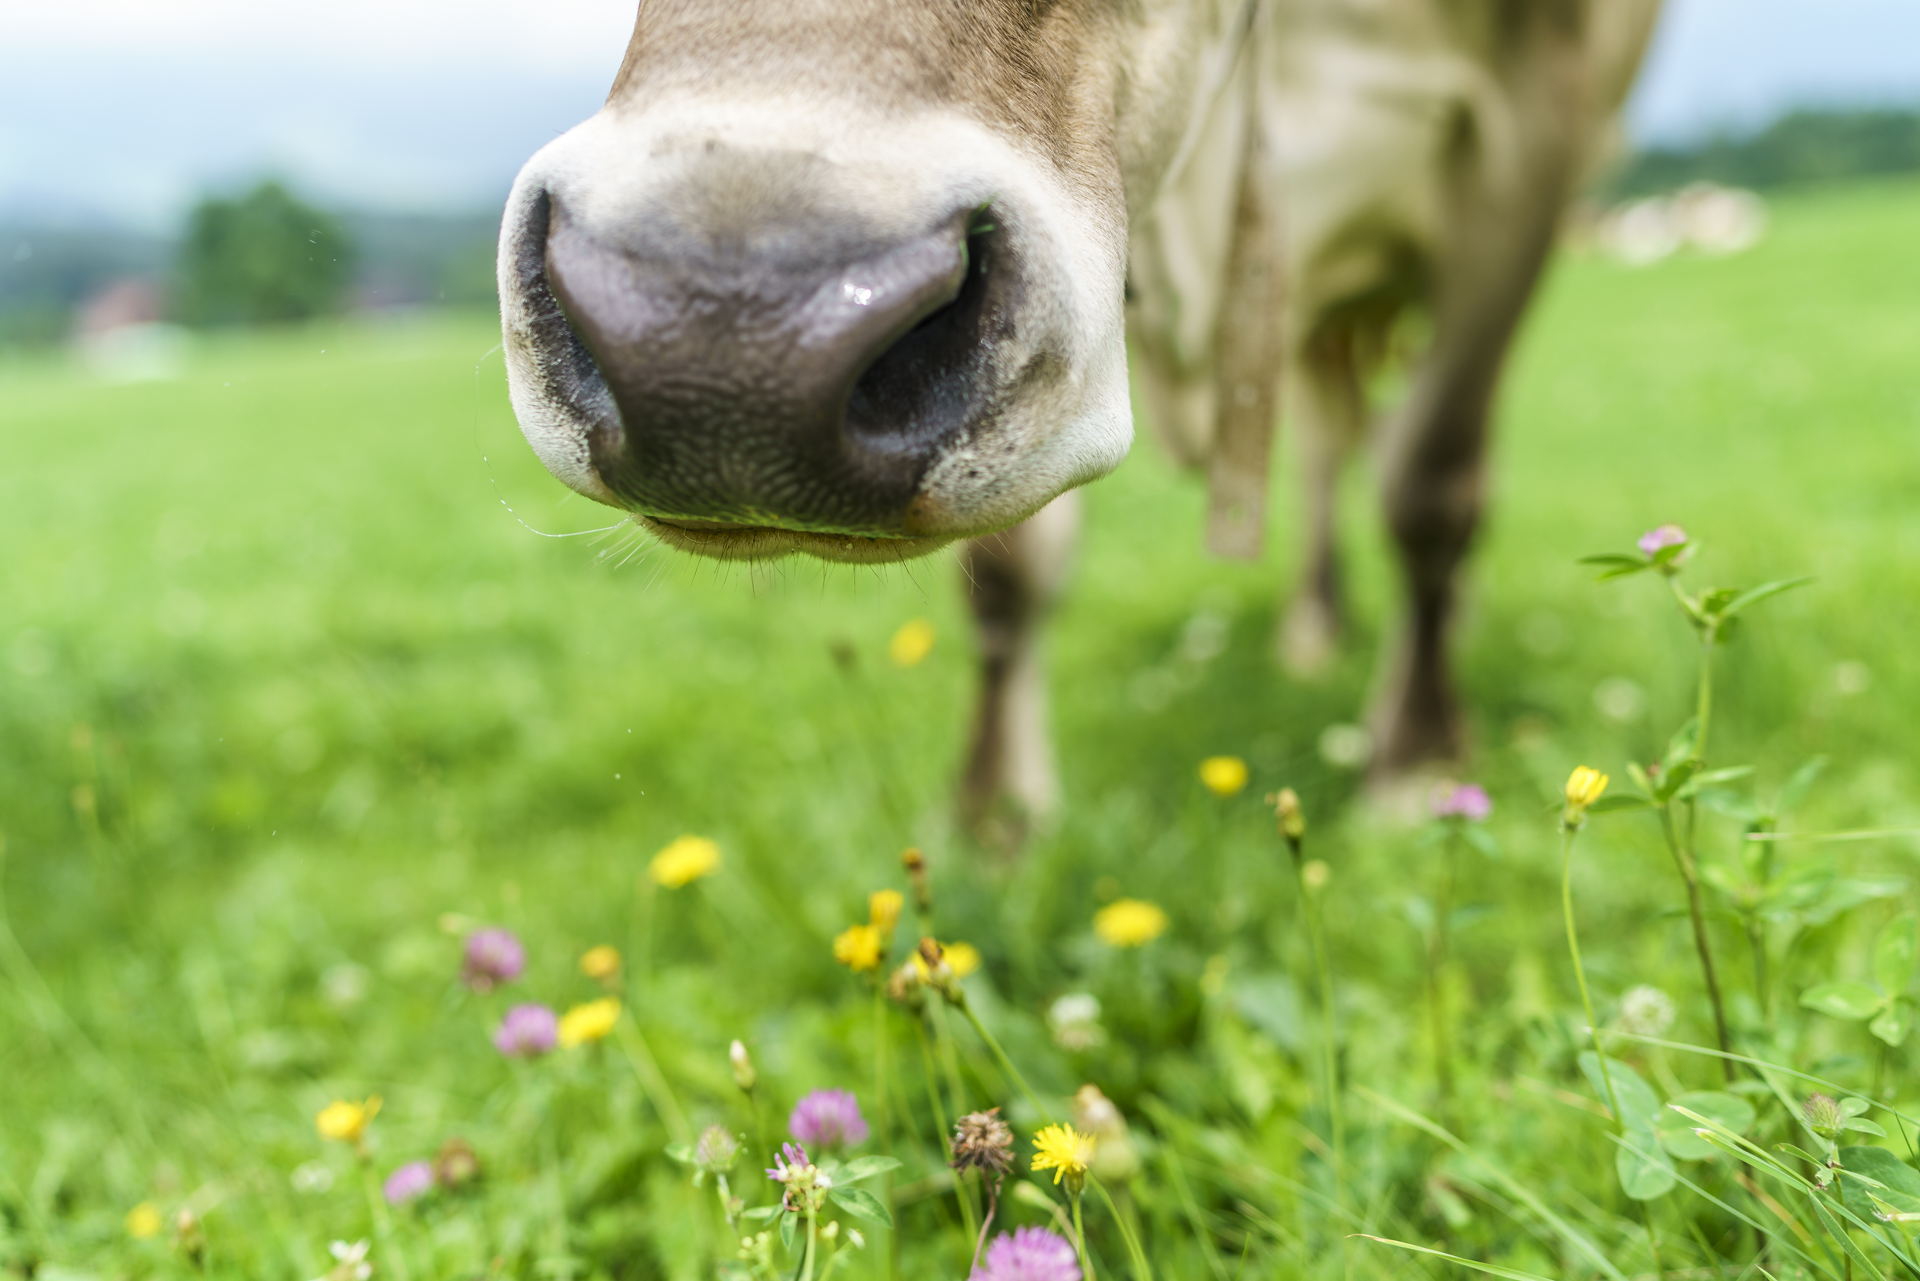
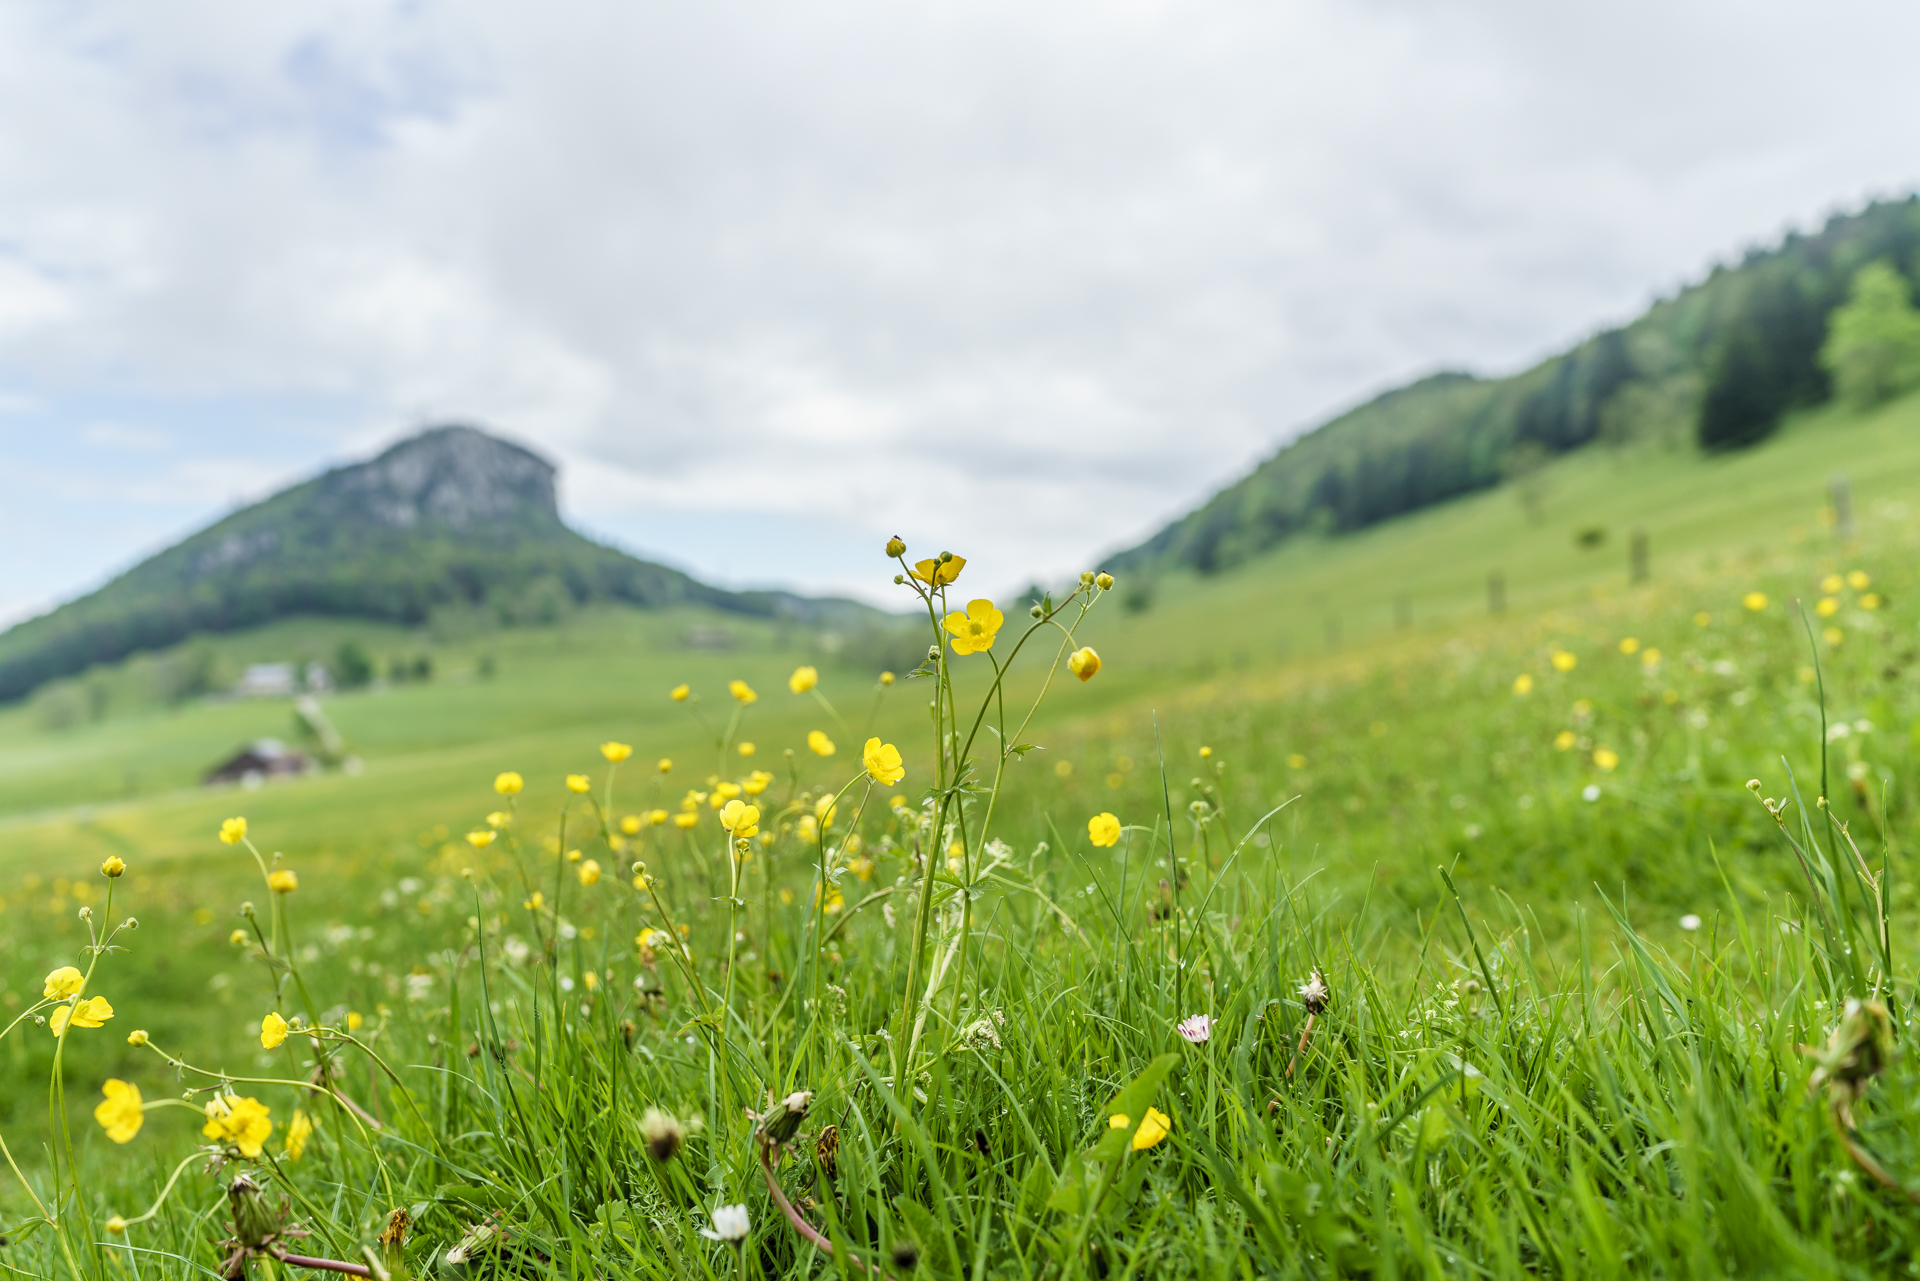
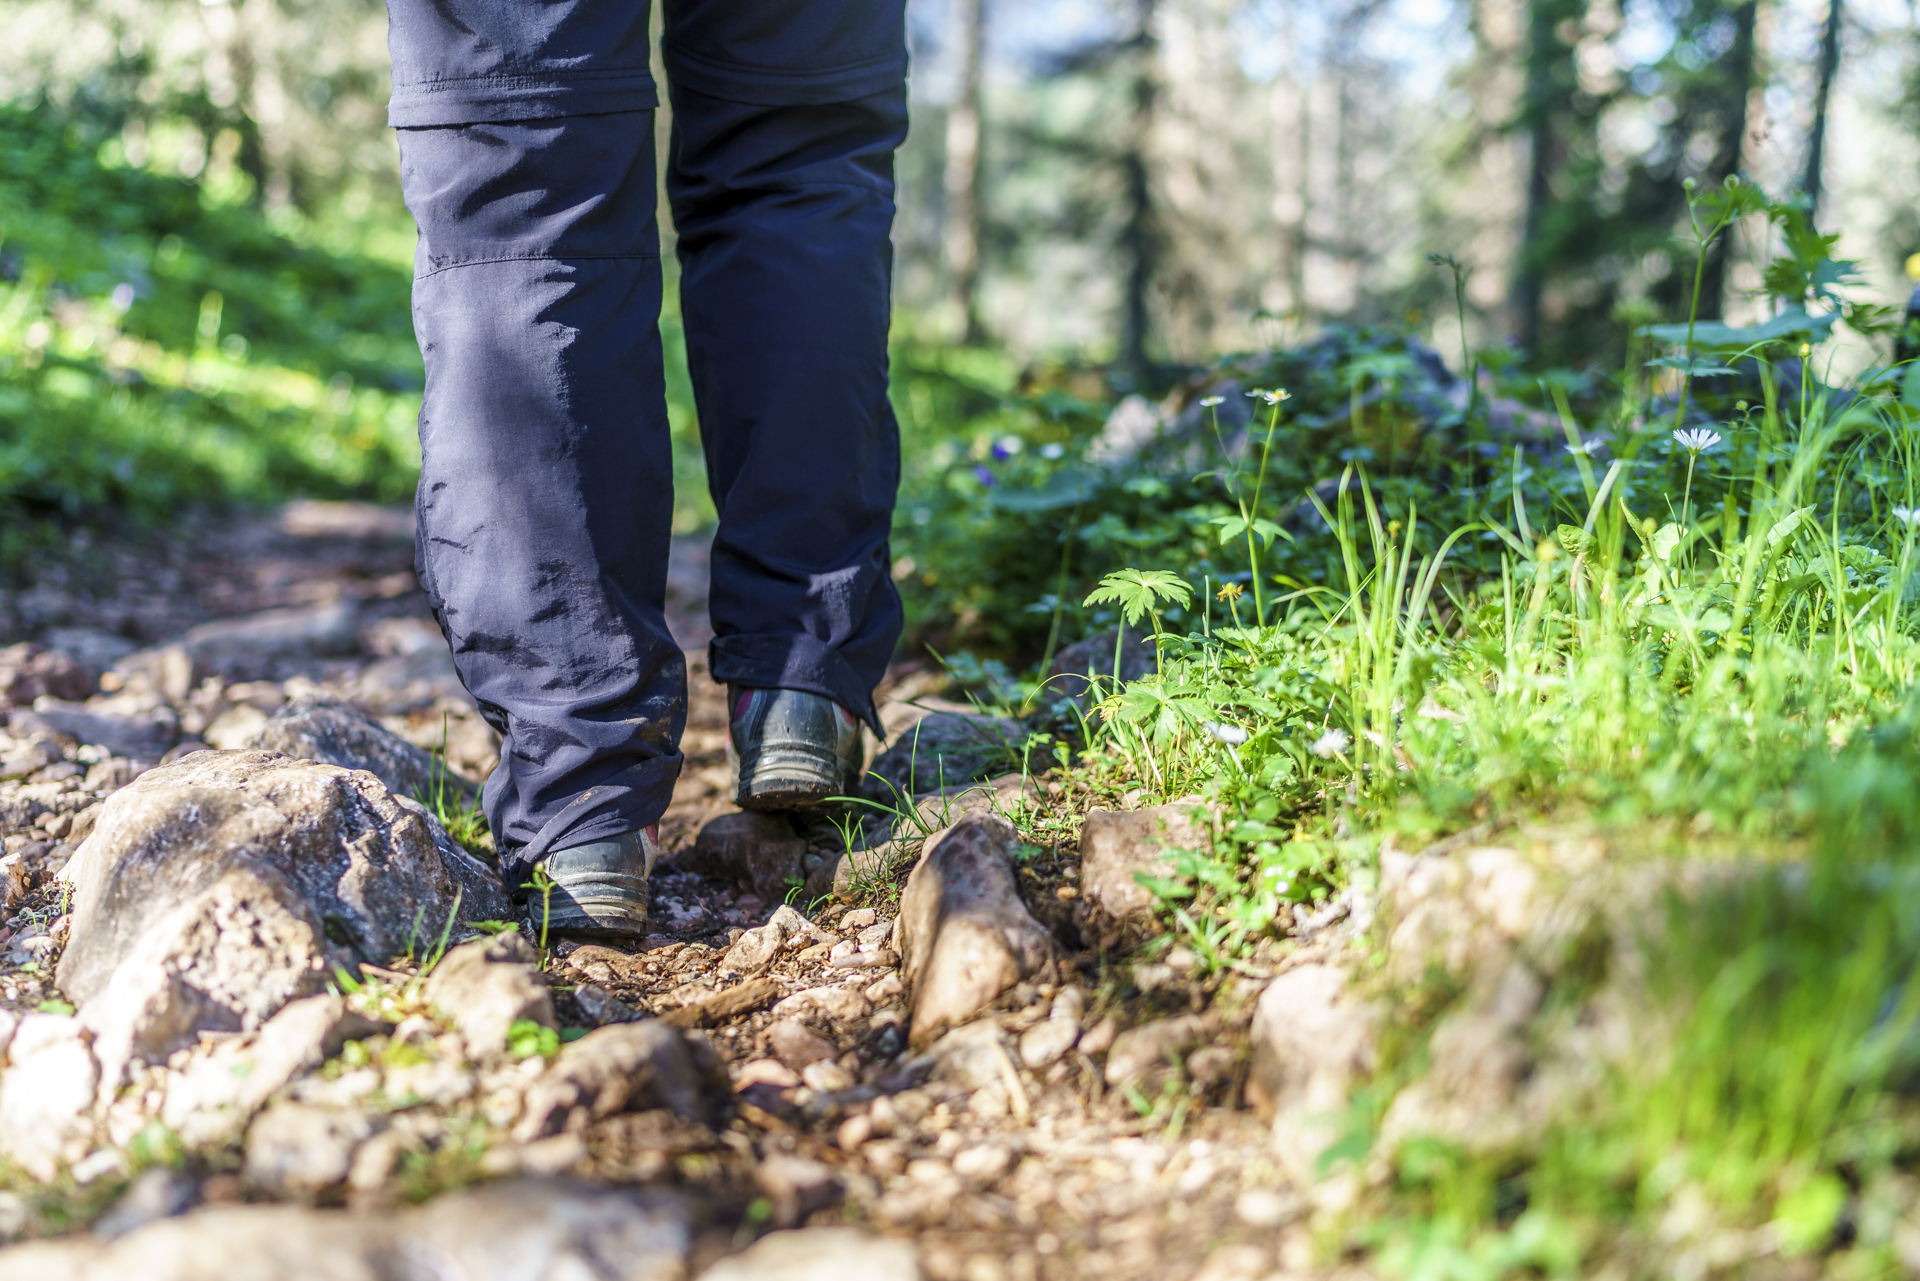
#3 Change perspective:
Always photographing at eye level is boring. Why not kneel on the ground and focus on the course of the path or look at what is directly above or below from your own point of view?

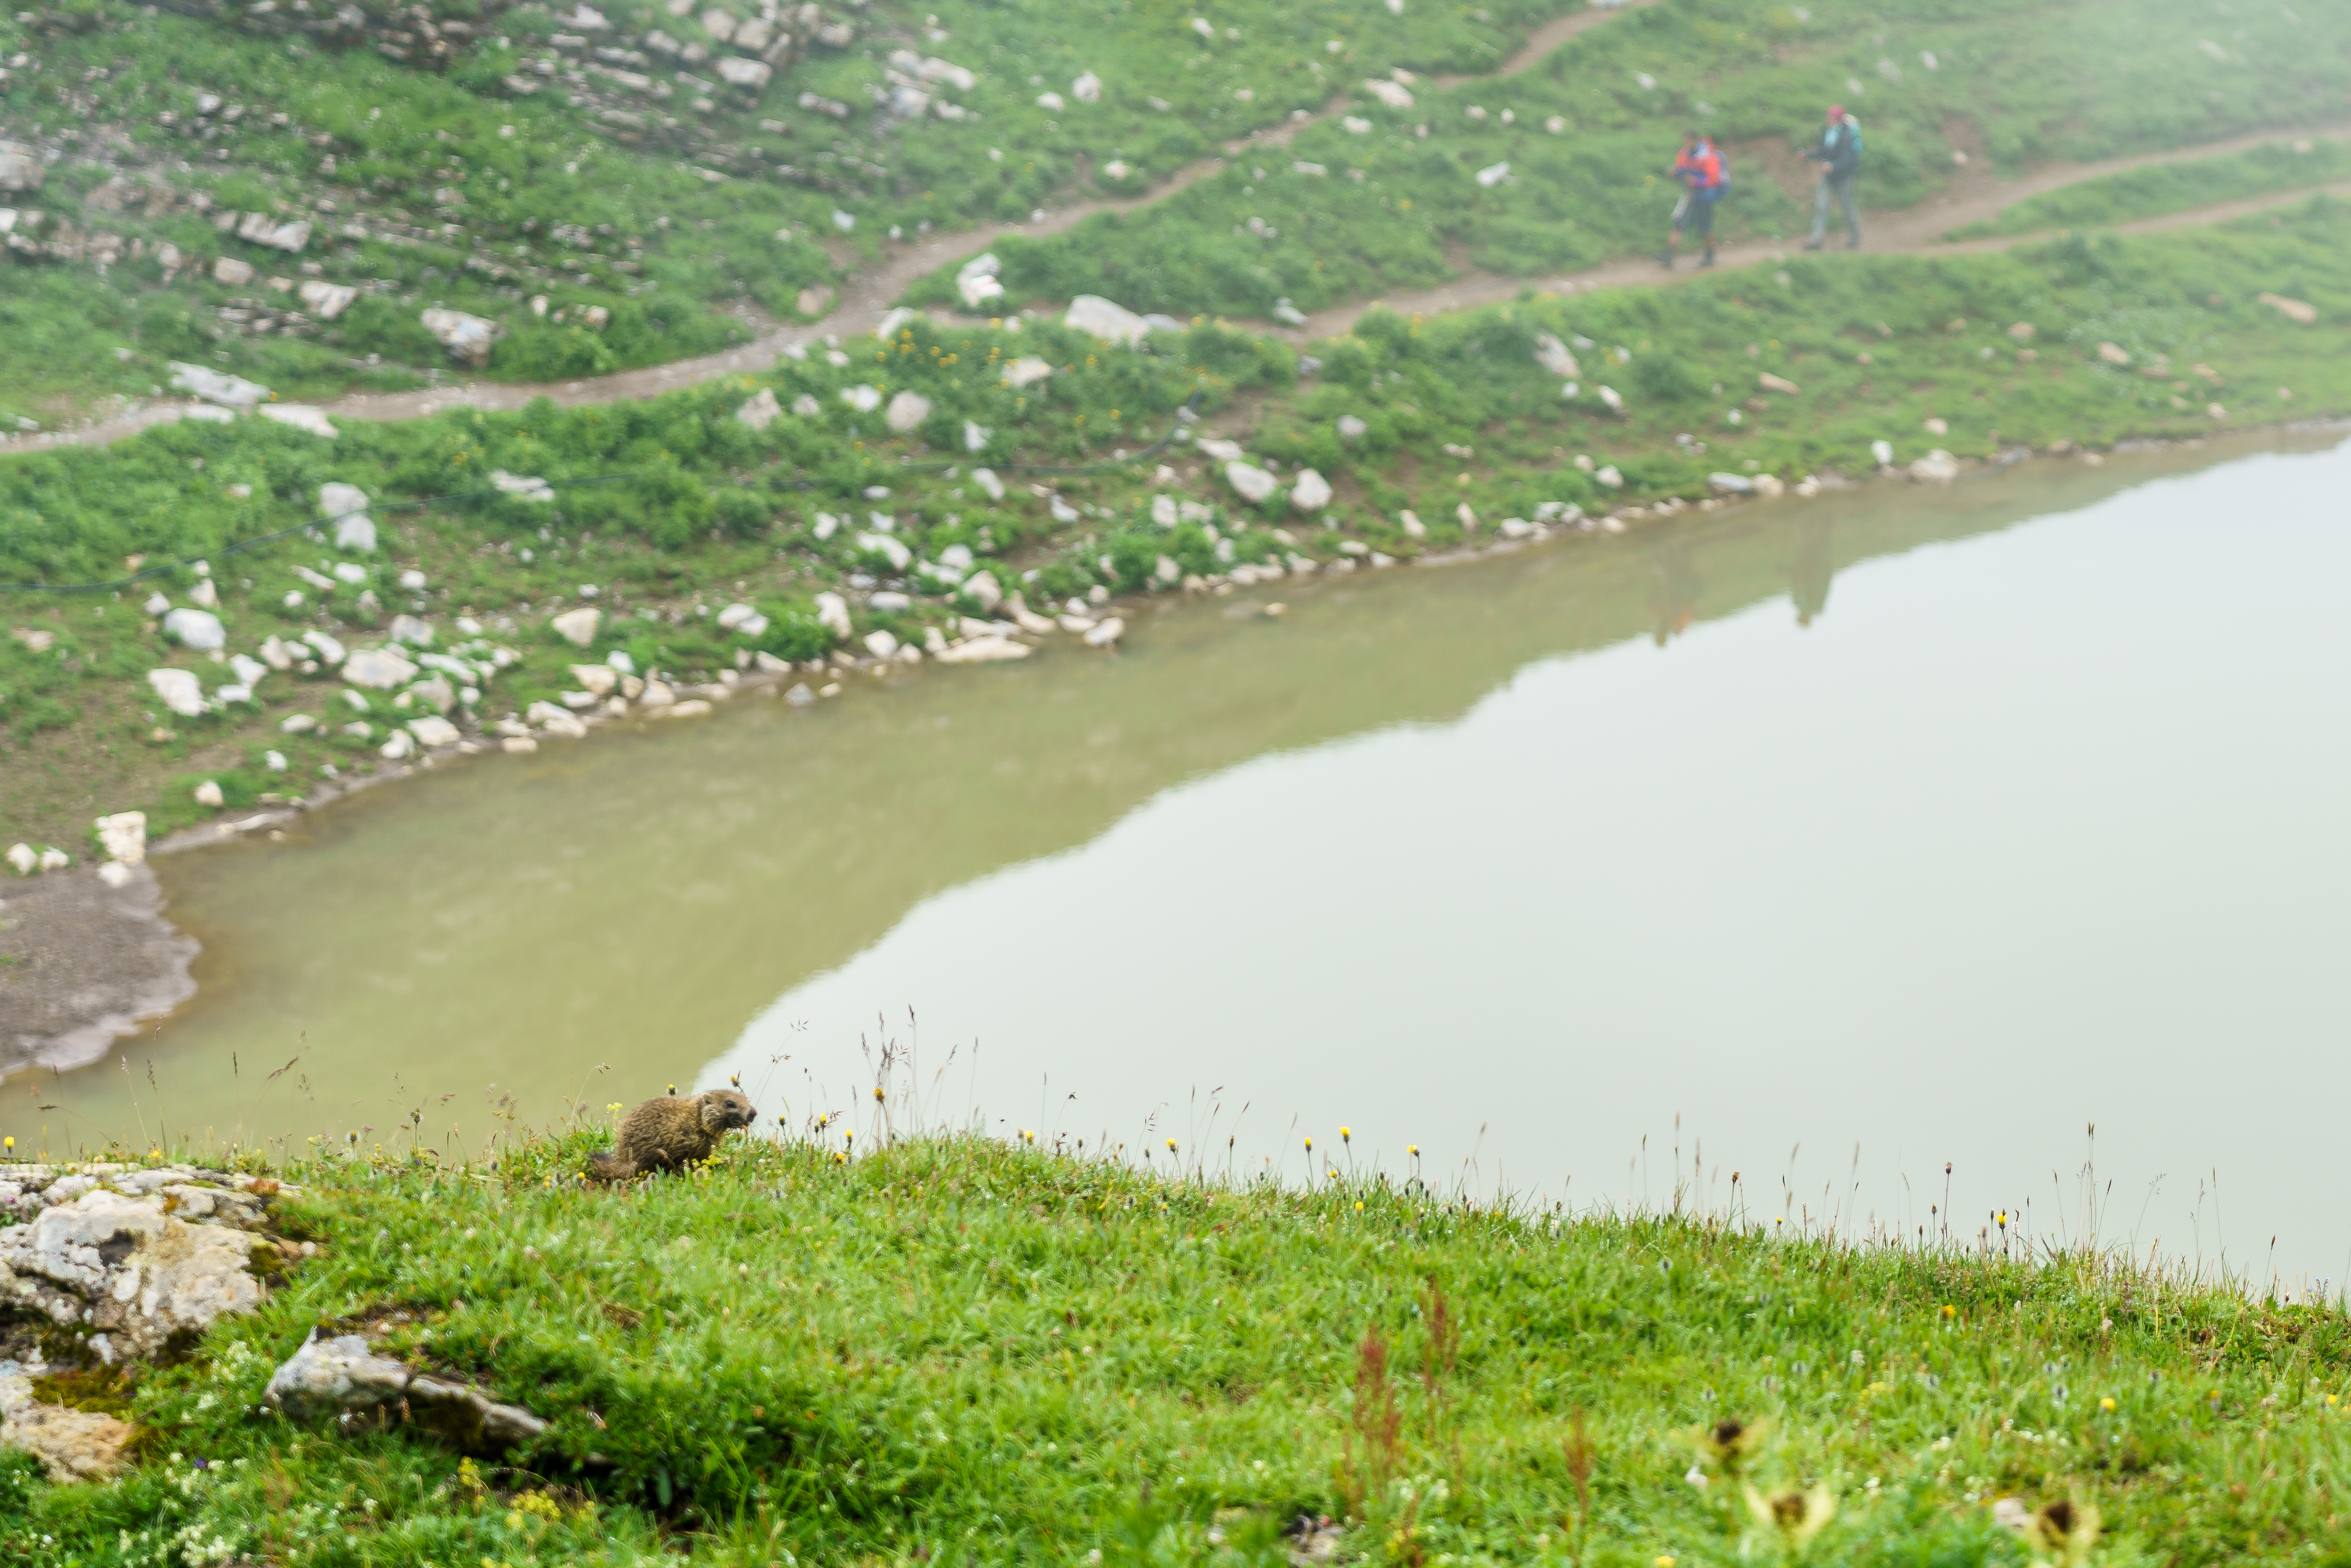
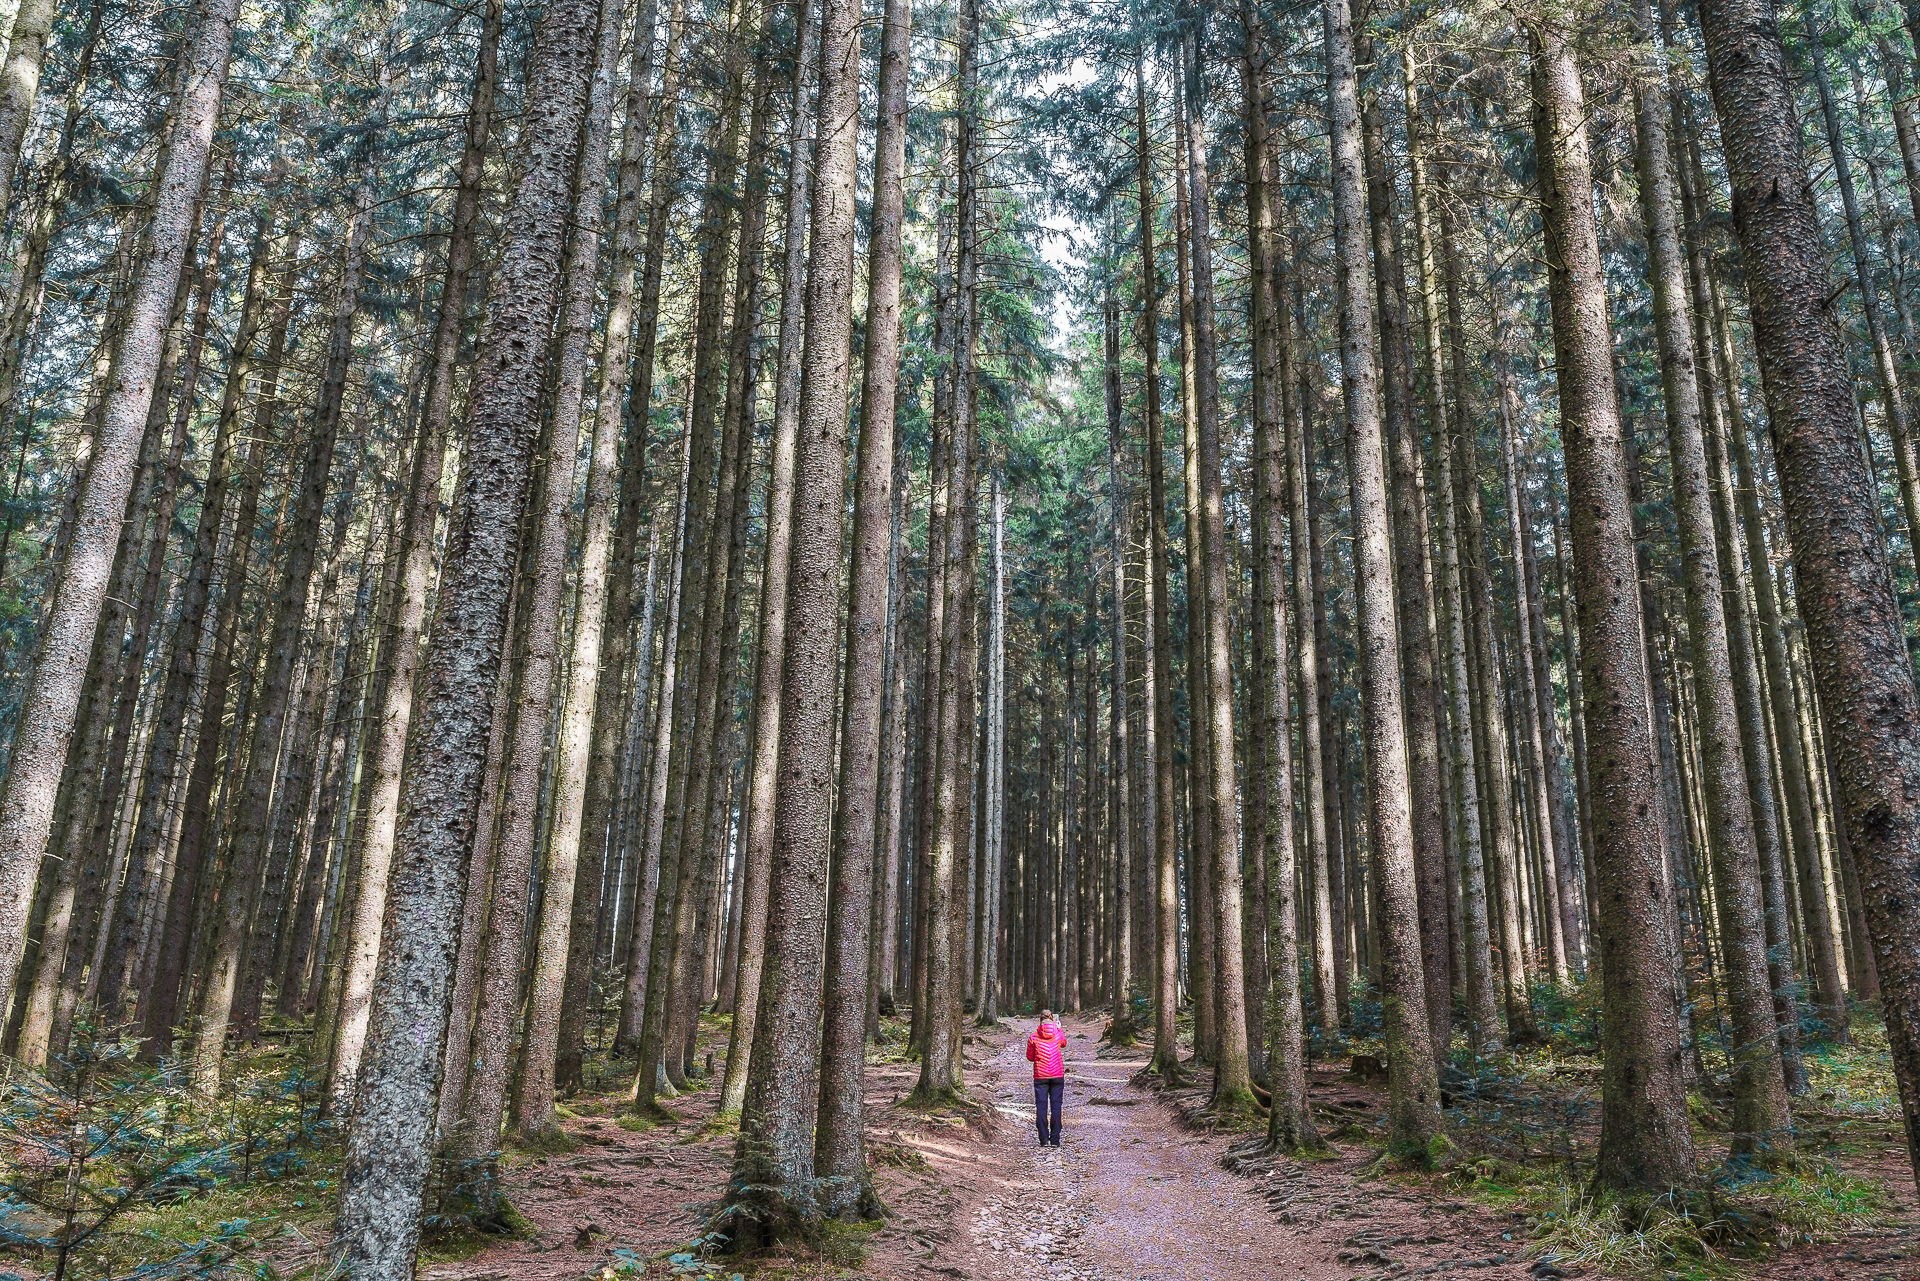
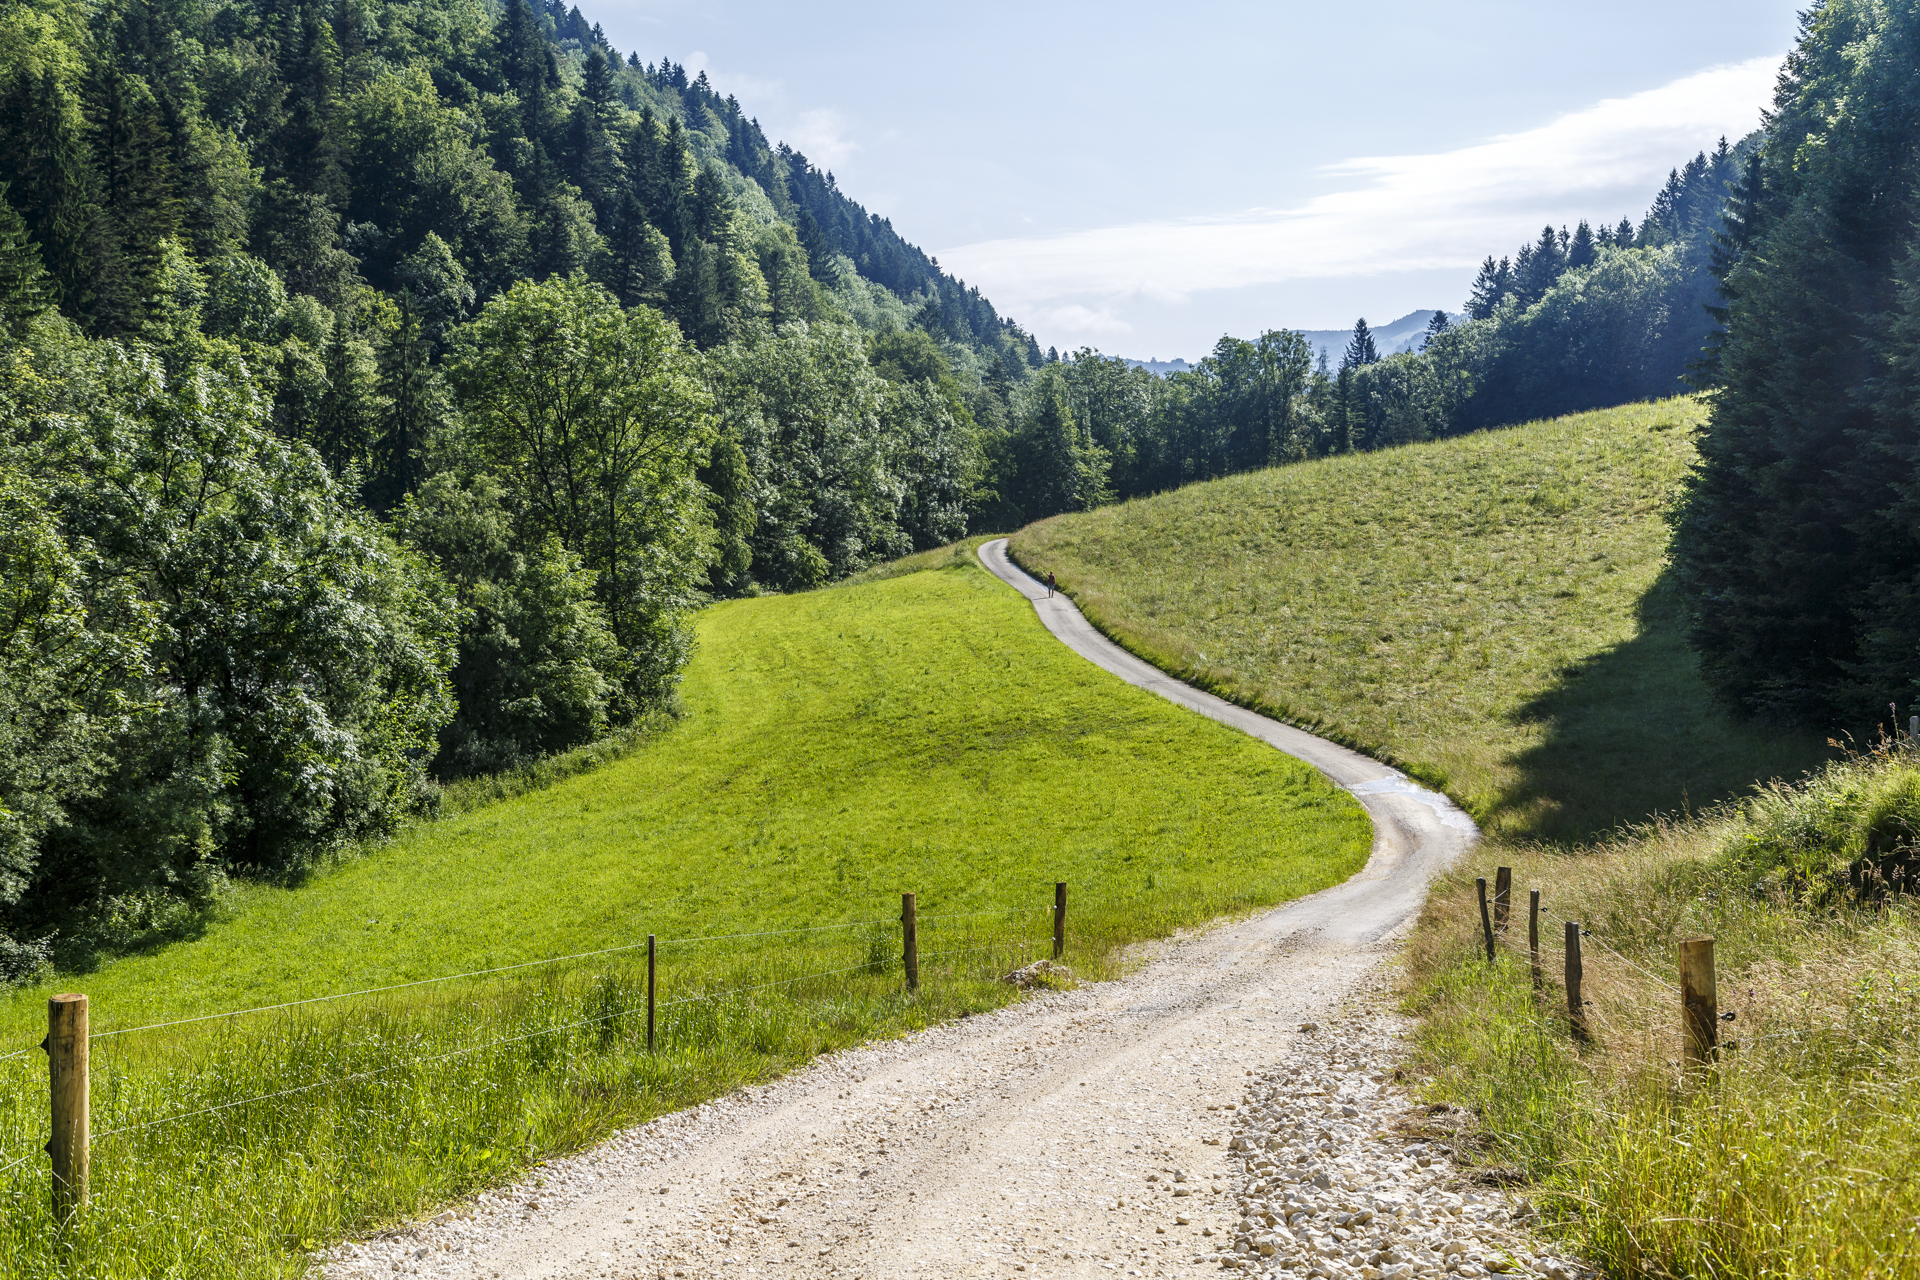
#4 Set the scene for proportions:
In pure landscape paintings, the power of nature is often elusive. I like to set specific accents with people in the picture. In this way, the proportions become visible. Exciting depth effects can also be achieved with paths.
#5 Use the light:
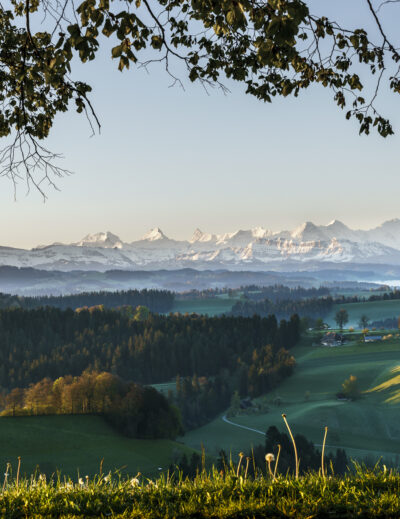
All late risers will roll their eyes now. Yes, the morning light is the most beautiful and it’s worth getting up early. In the summer months, we set the alarm clock around five o’clock to find out the weather. If the sky looks interesting, it’s time for day watch, otherwise there’s a round of sleep.
In general, I would say that the most boring lighting conditions on a hot, steel-blue July day are around noon. The camera can safely stay in your pocket. The chances of really beautiful photo light are highest in the autumn months.
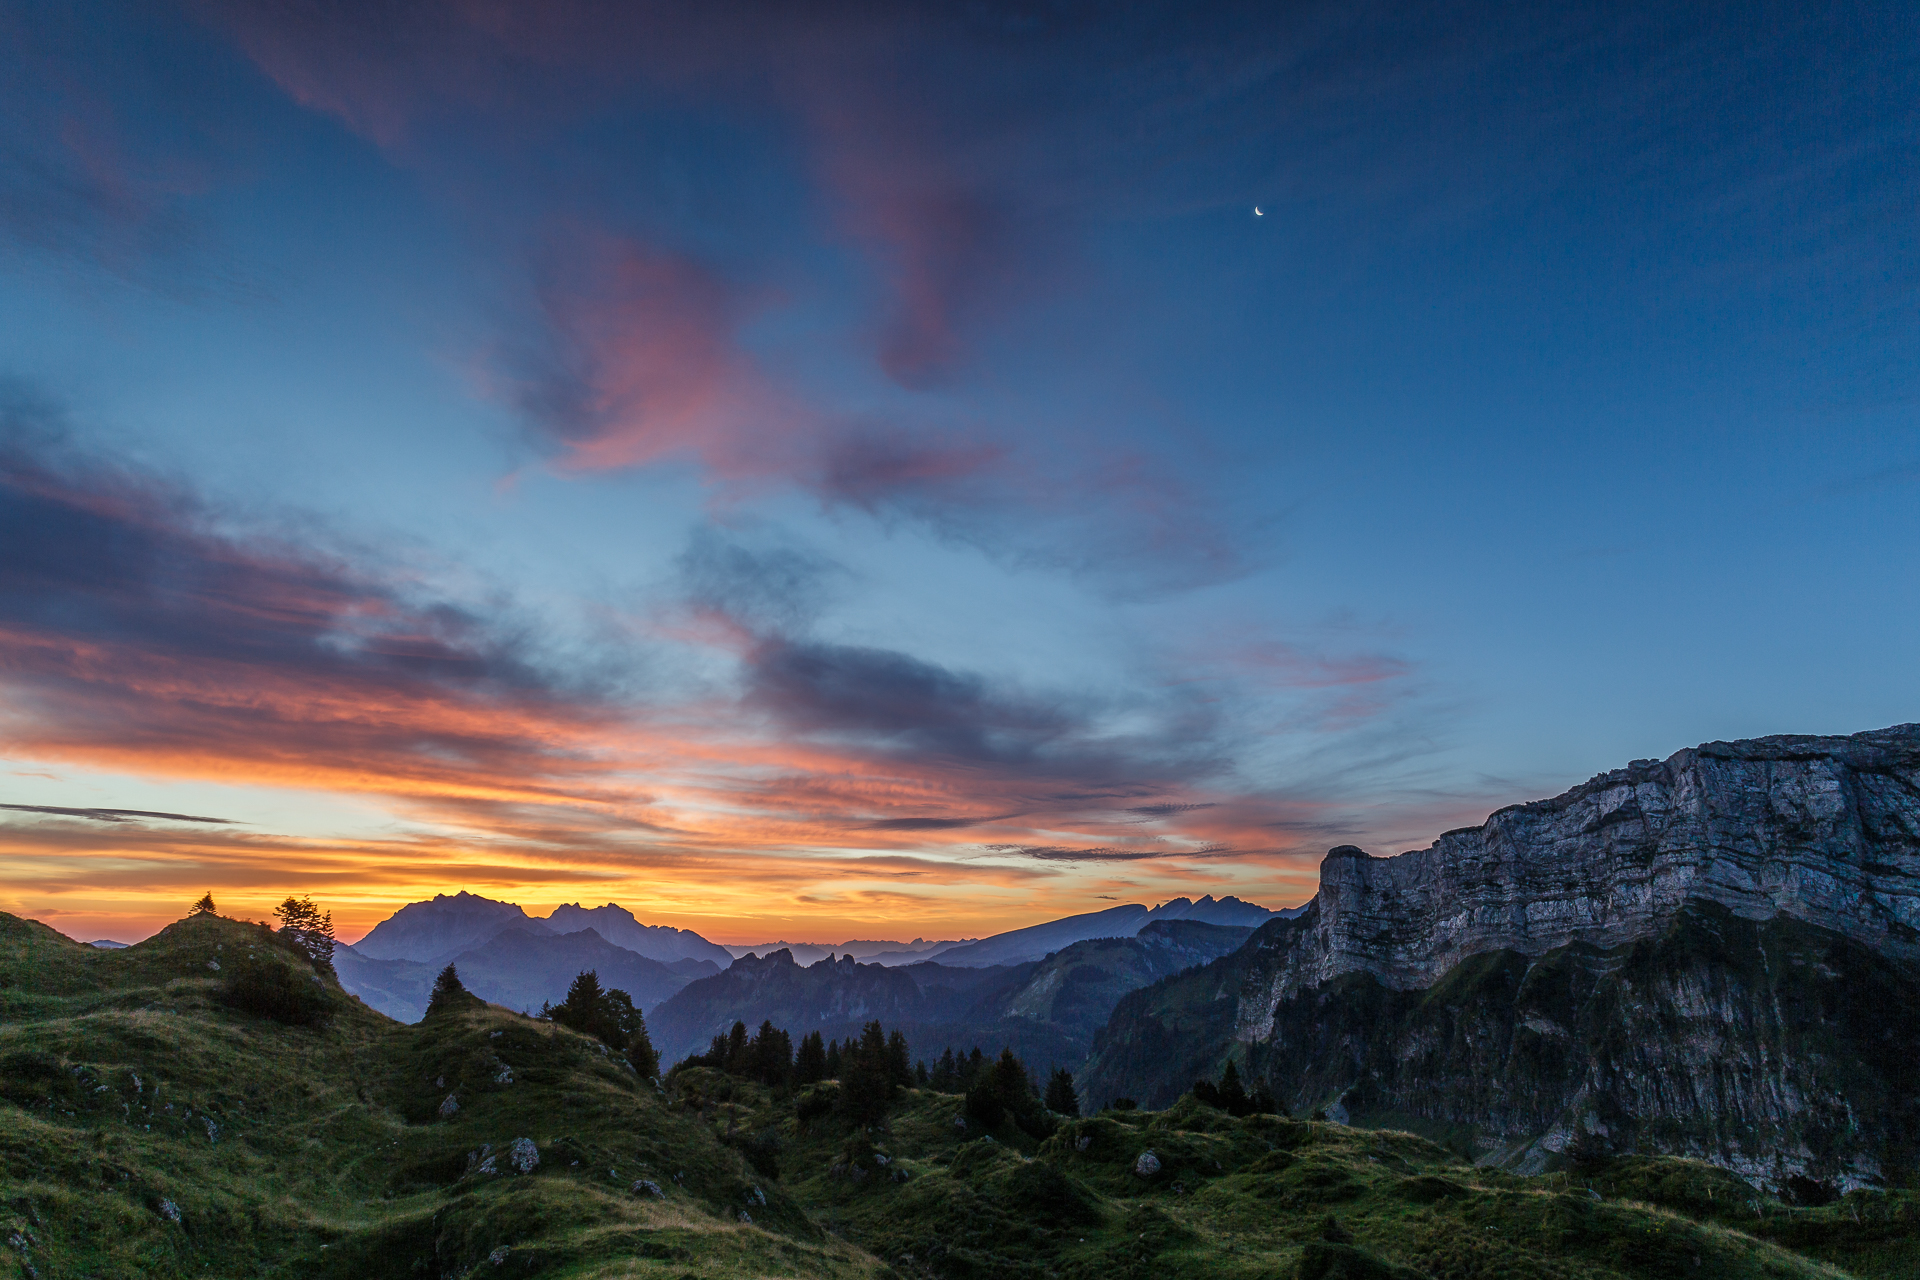
Beautiful morning light just before sunrise
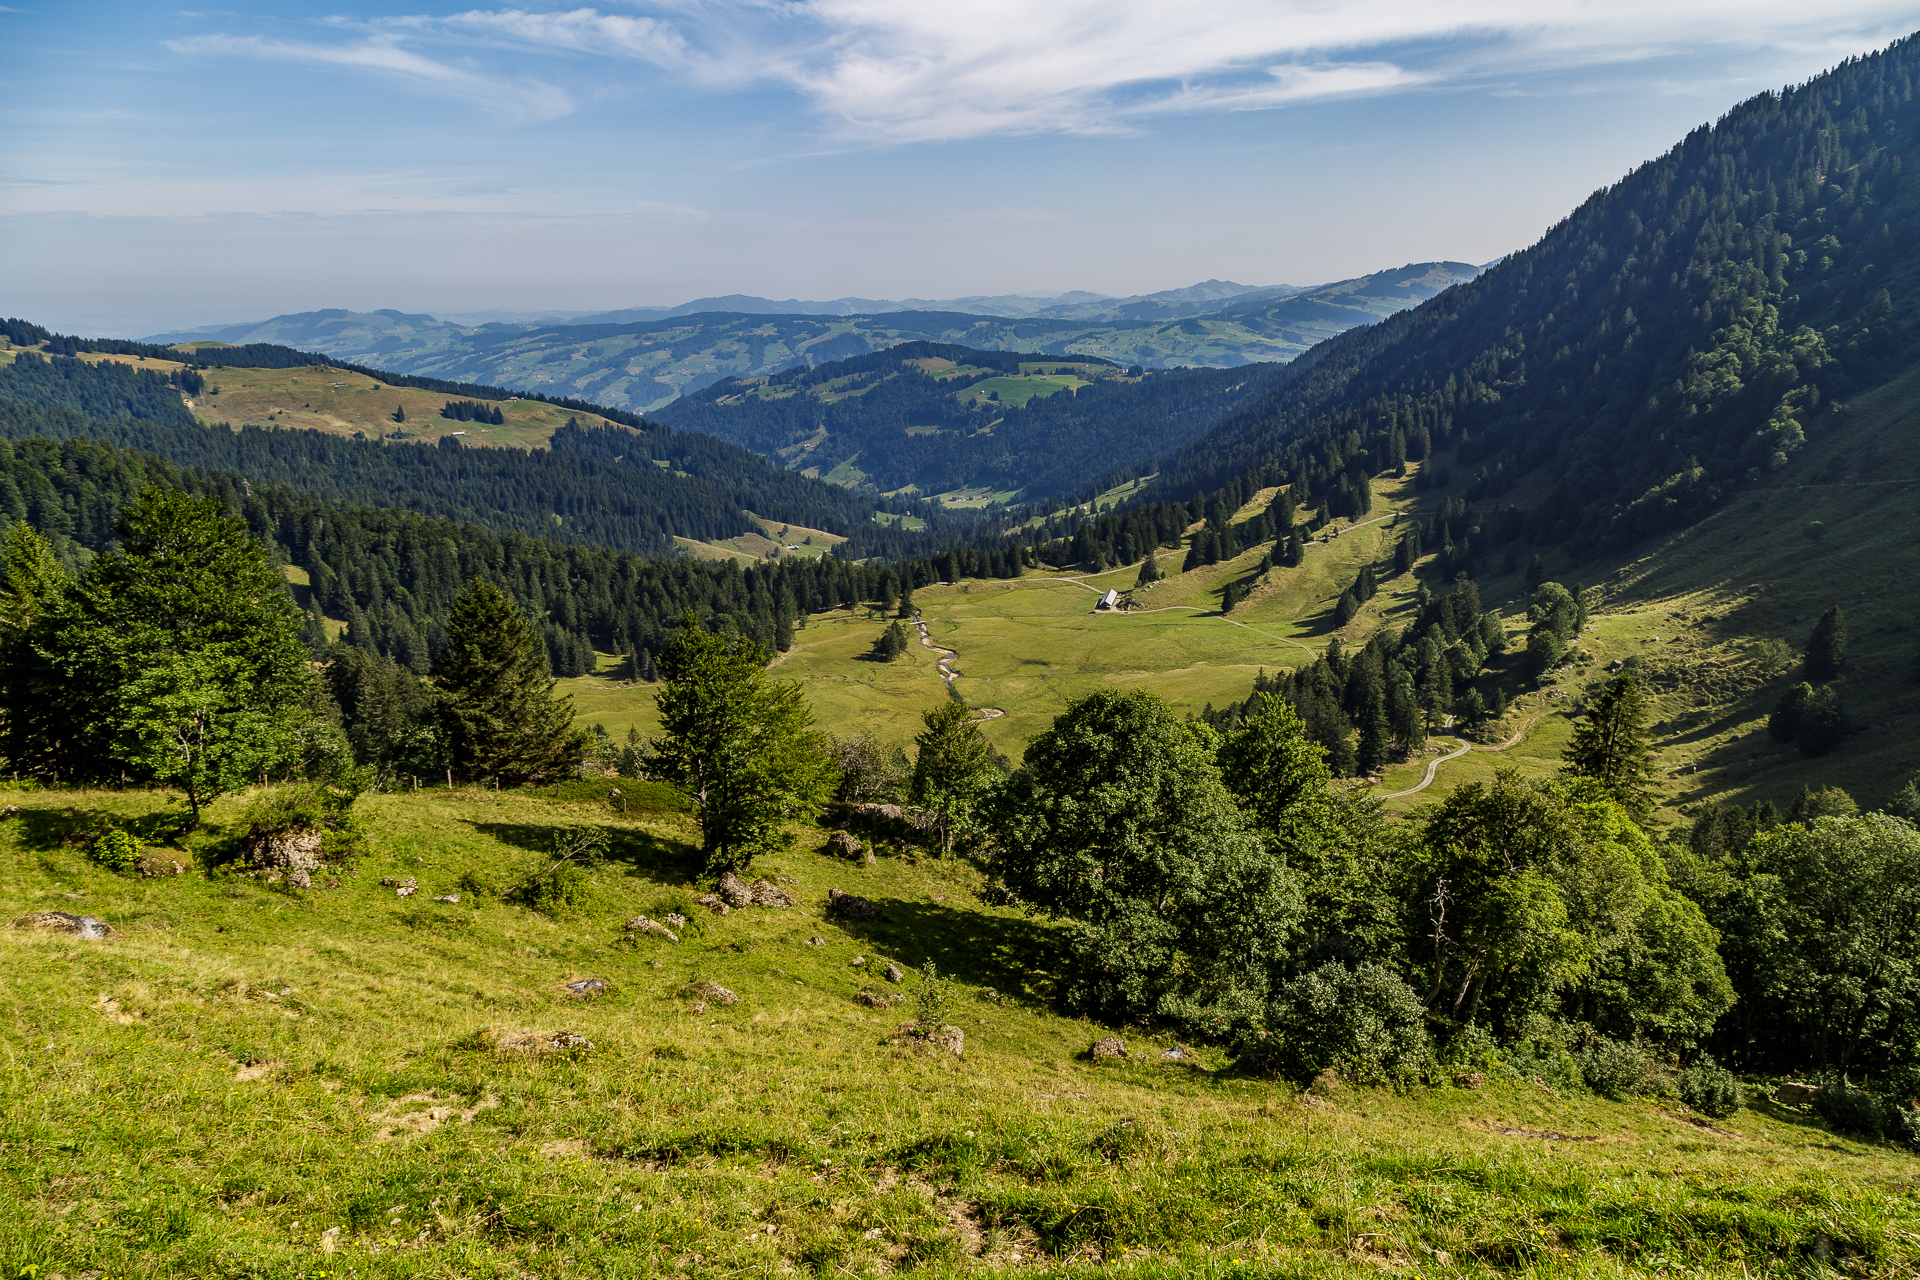
Same day about five hours later – (too) bright summer midday light
I hope I’ve answered your most burning questions with this first photo tips post. I’m currently thinking about reporting on the topic of photo spot research and photography on city trips in a second and third part of this series. If you have any specific questions, feel free to type them in the comments or write me an email.

Leave a Reply